|
The photoshop assignment of this week was the school context assignment. In this project, we took a photo of the school and then imported it into Photoshop. In photoshop, we added layers of halloween themed objects, to be apart of the photo! I had a really fun time being creative with what I could do and became more familiar with photoshop tools and rules. I used the selection tools, masks, and the paint brush tool to compose the photo. 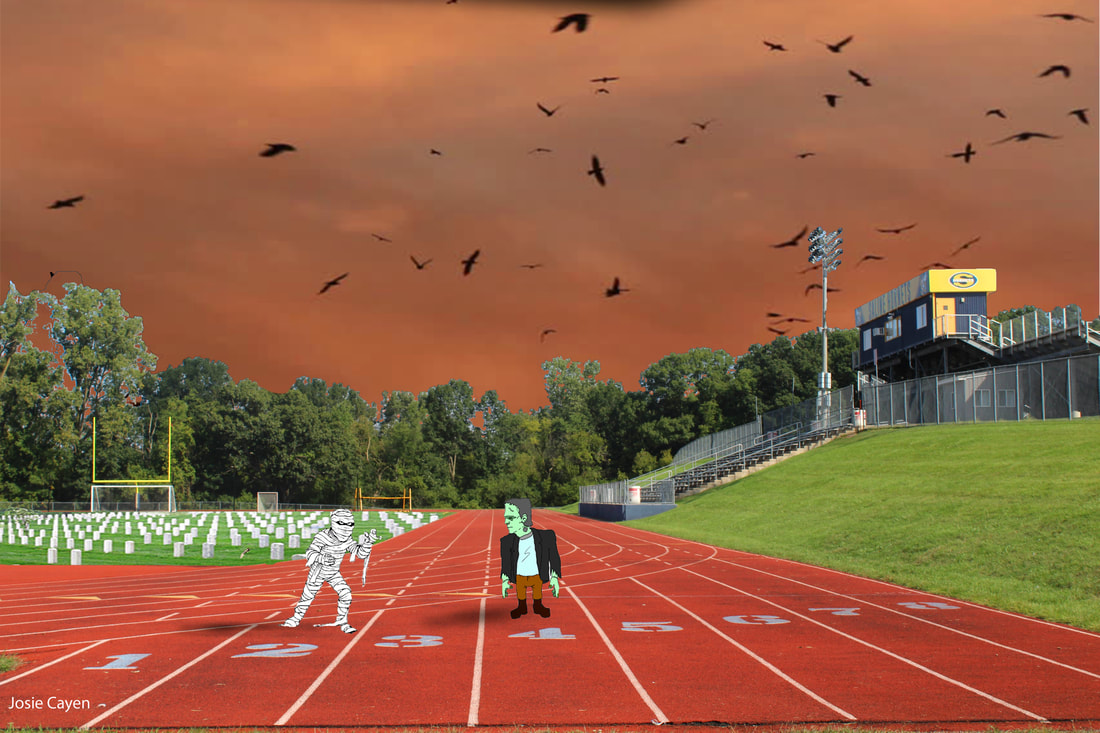
0 Comments
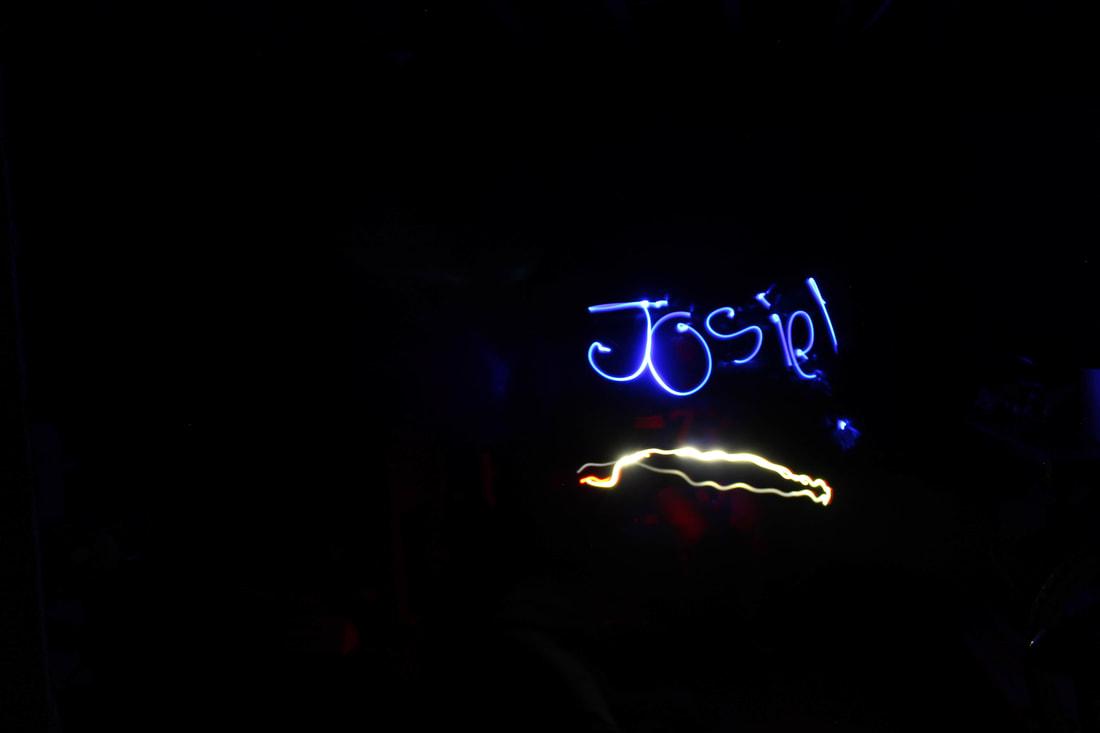
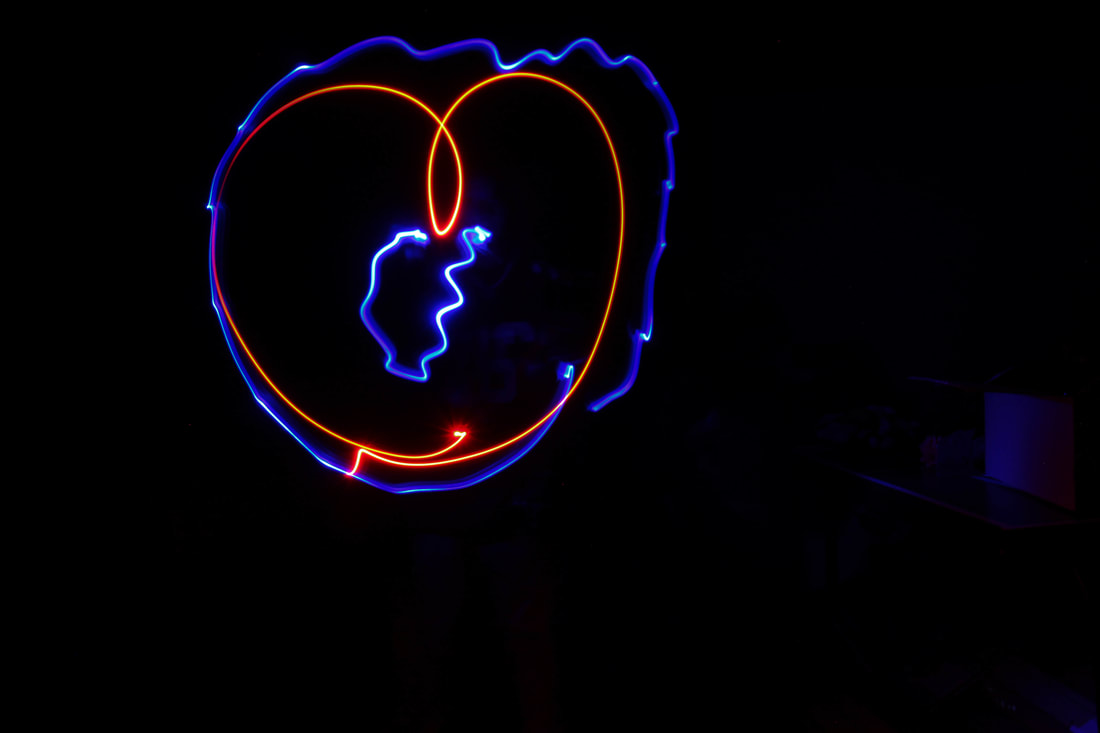
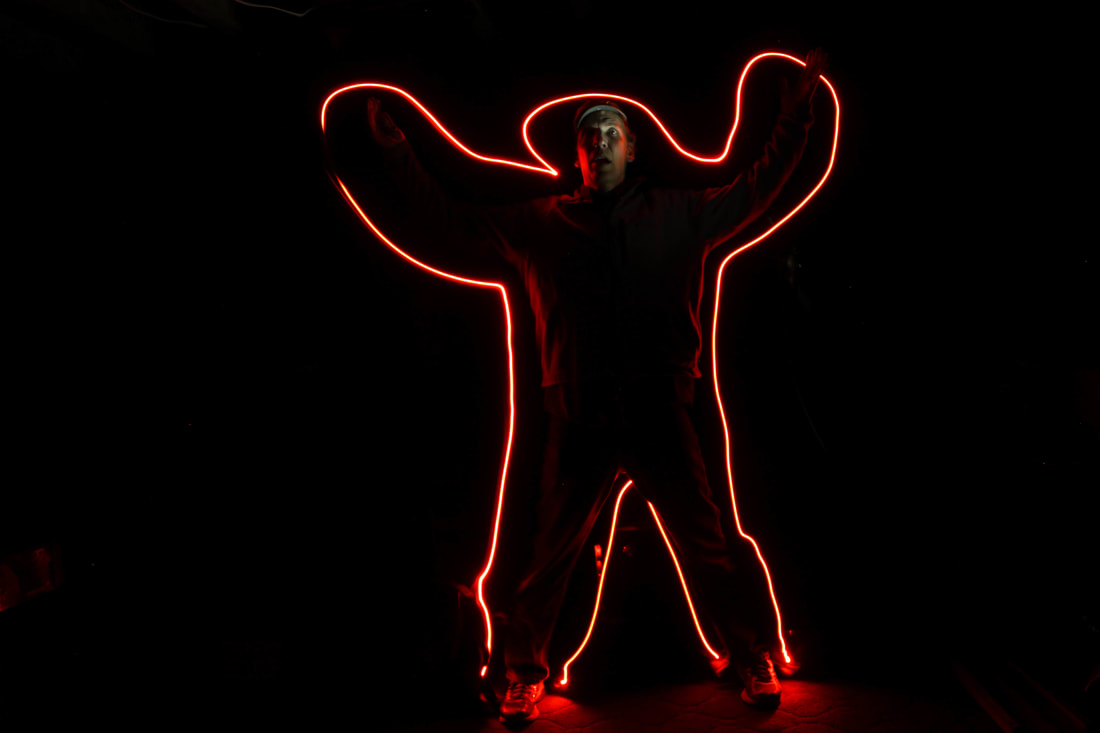
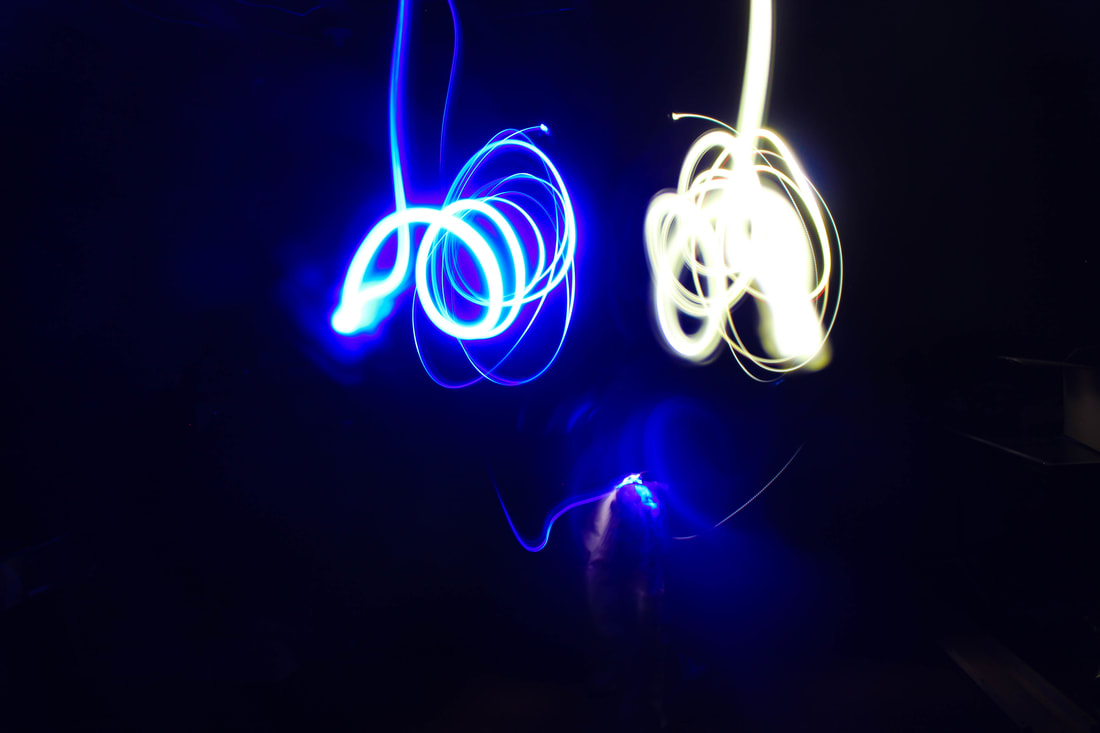
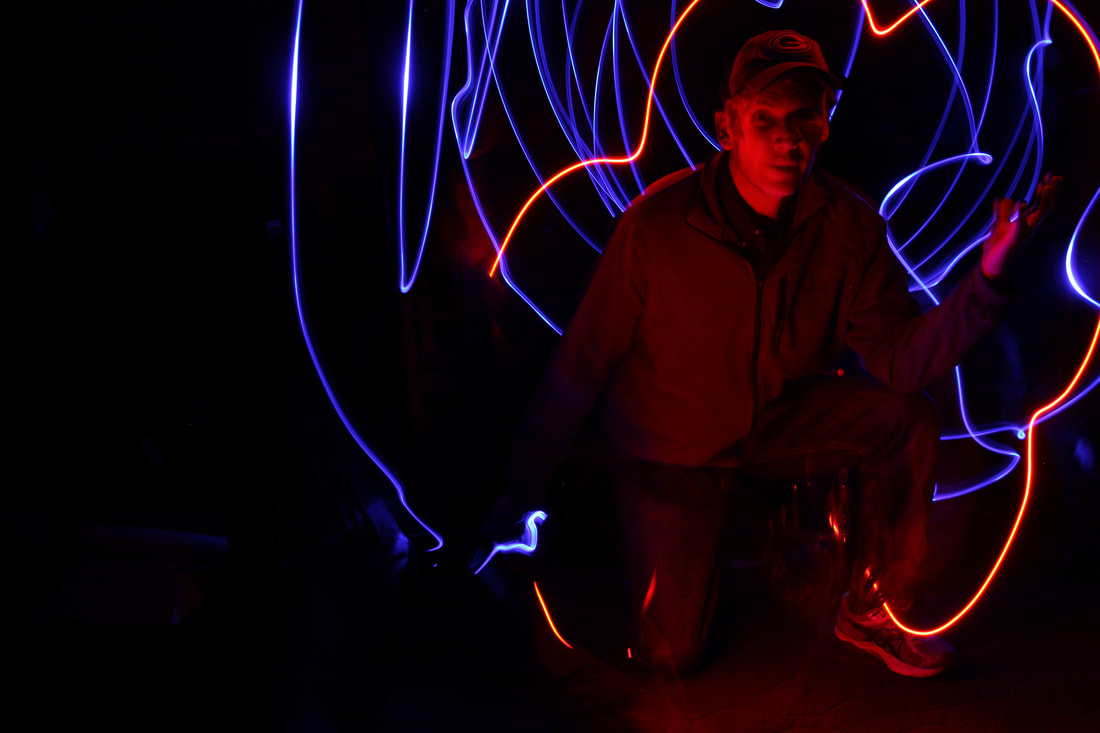
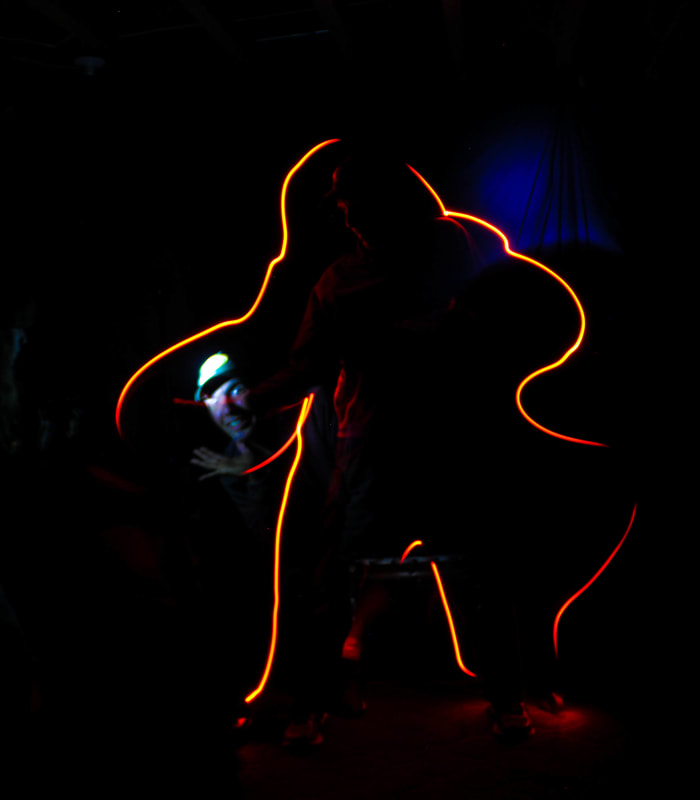
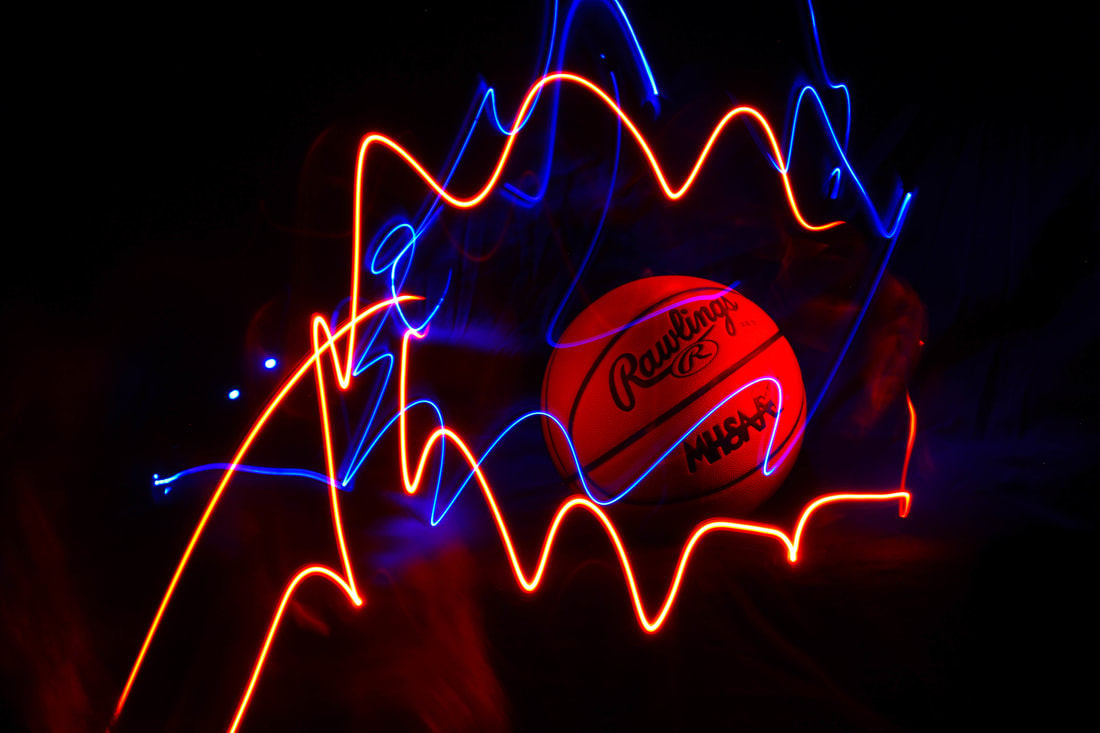
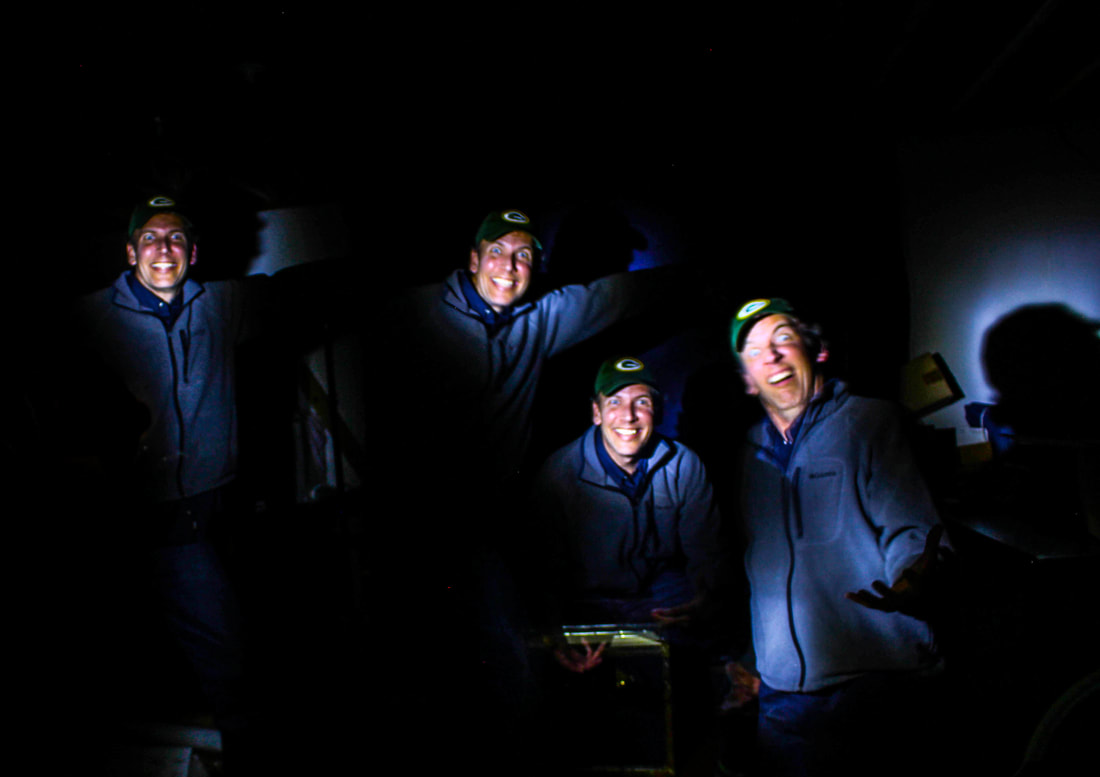
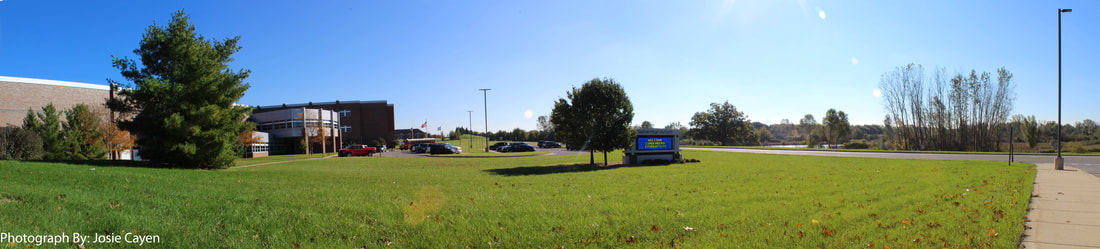
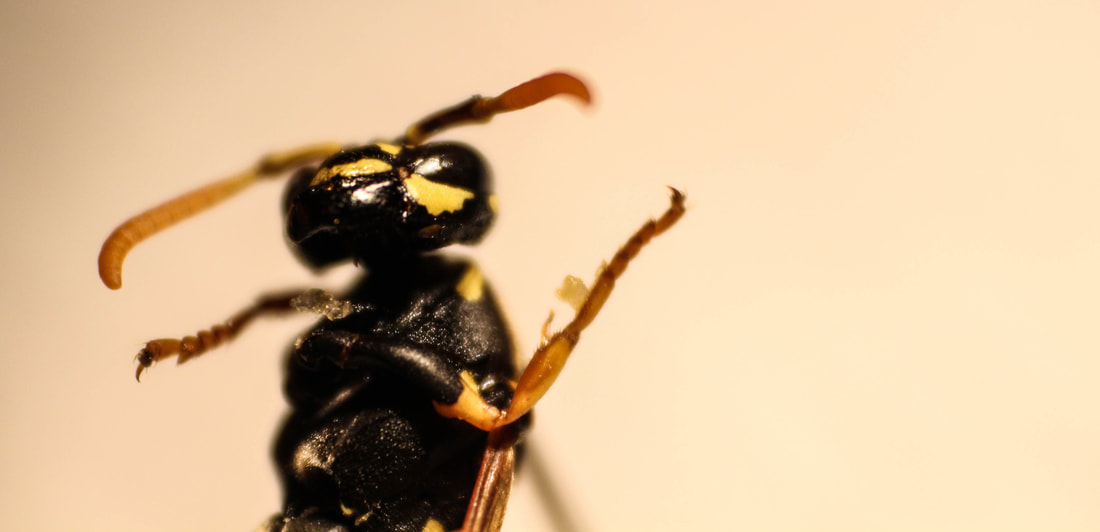
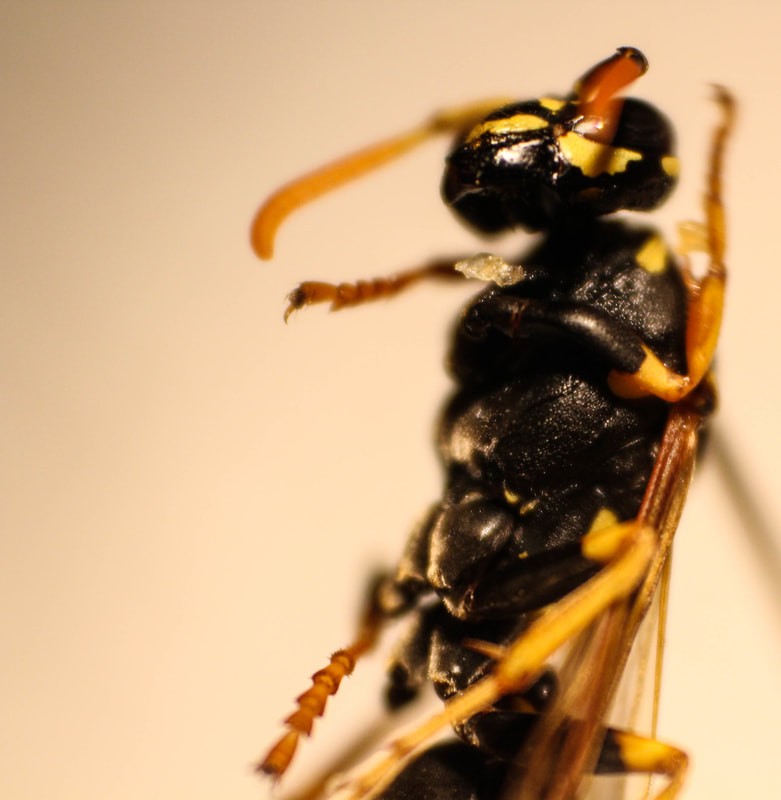
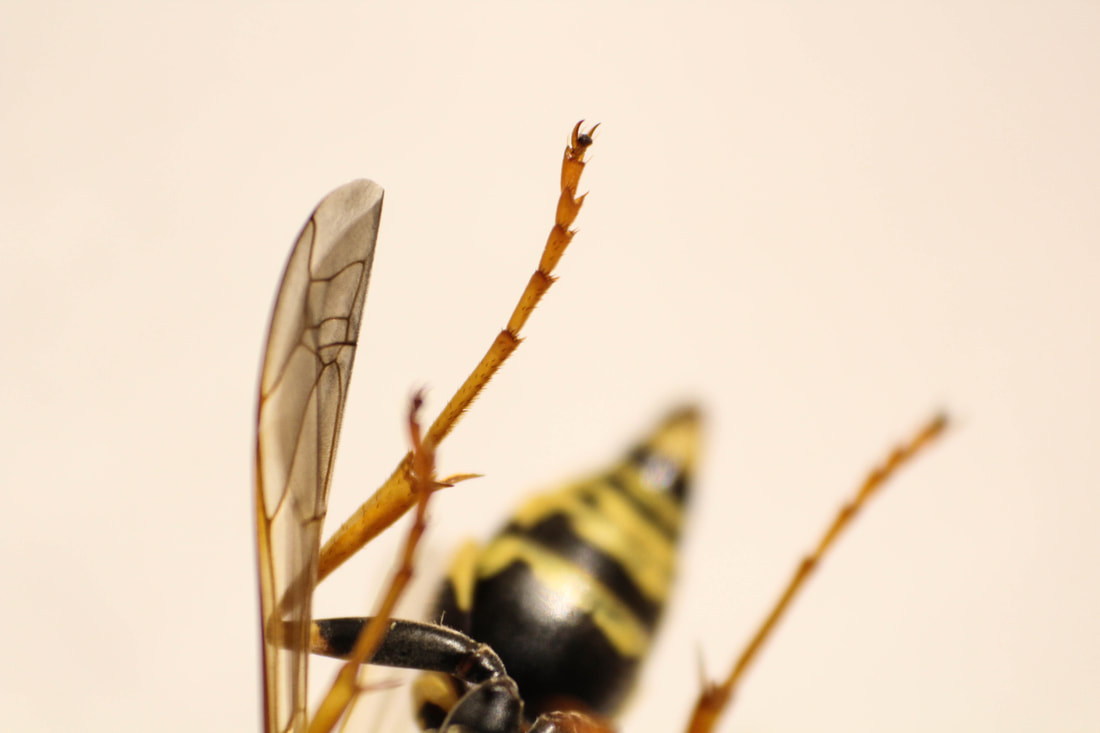
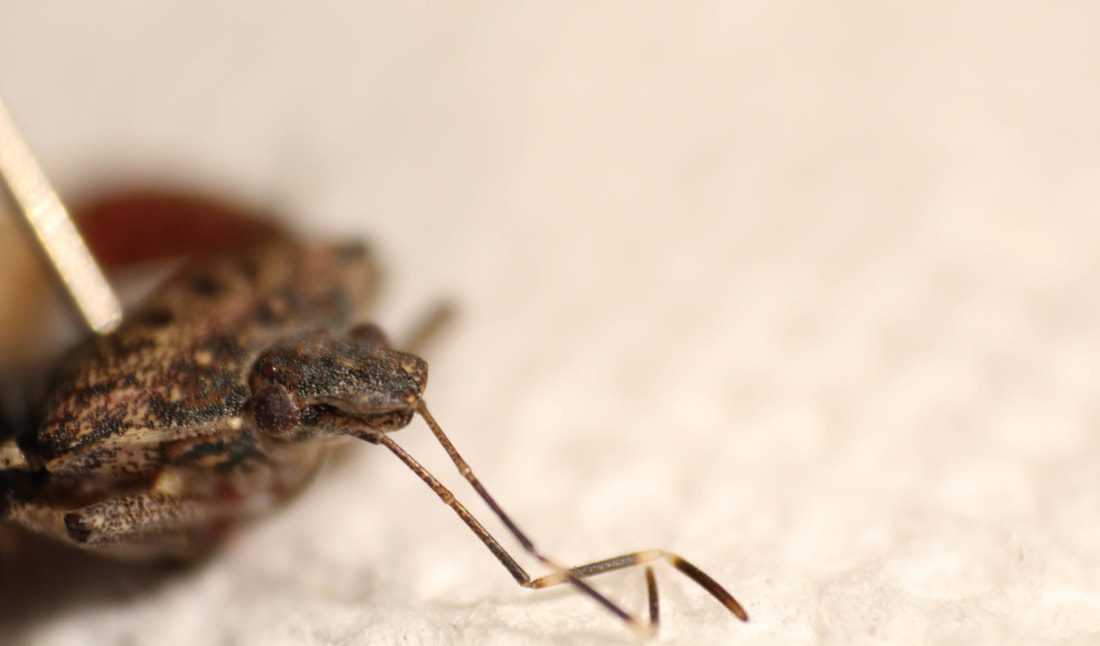
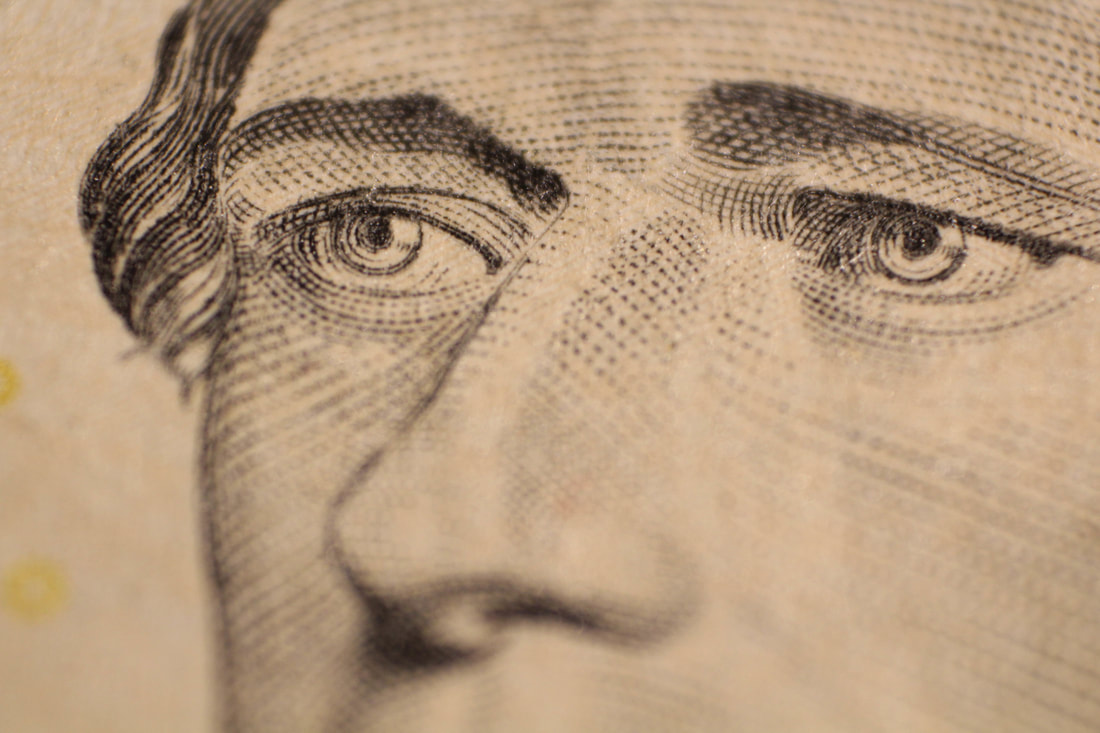
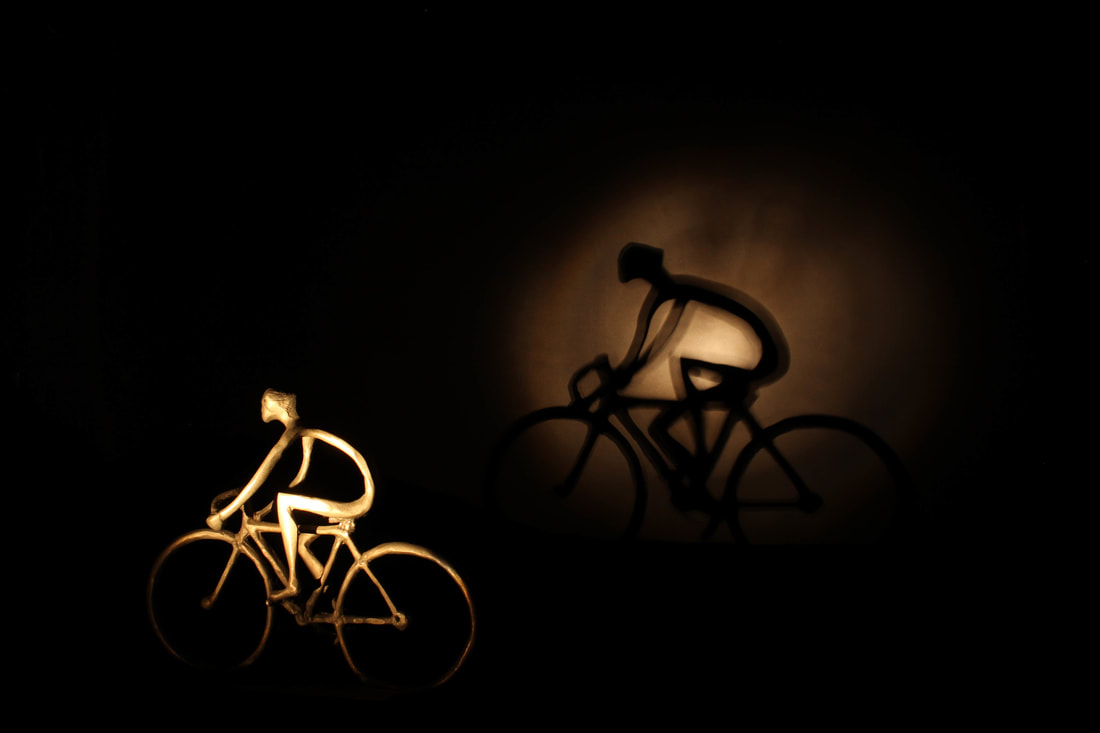
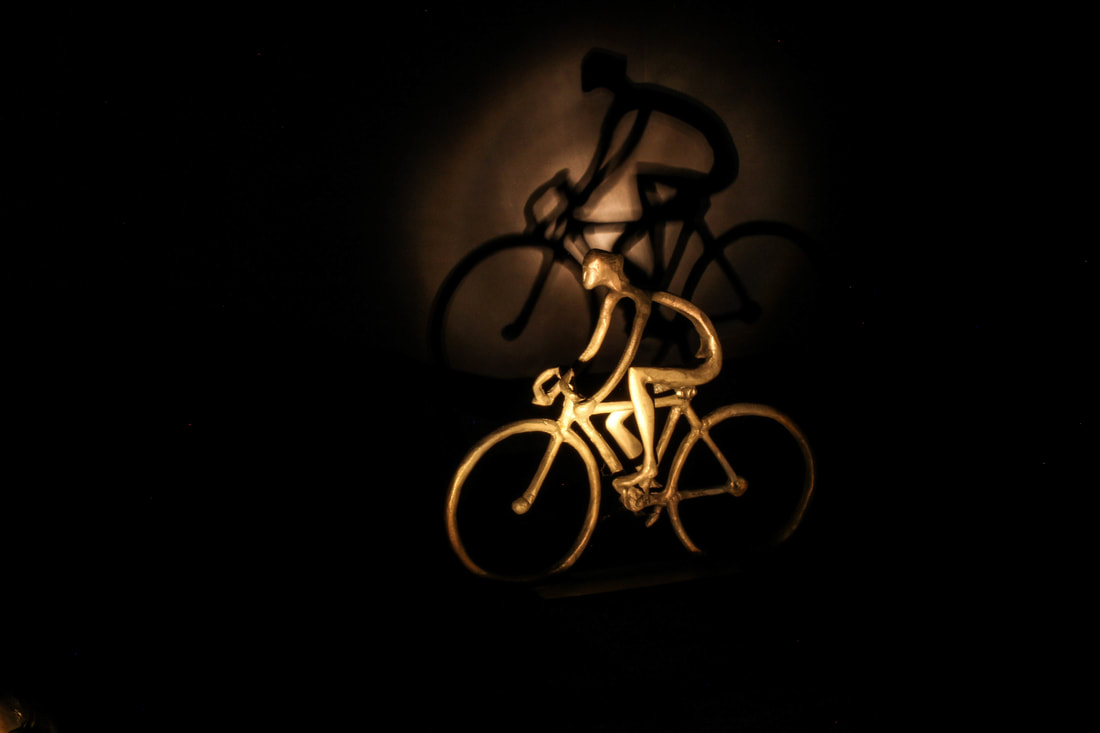
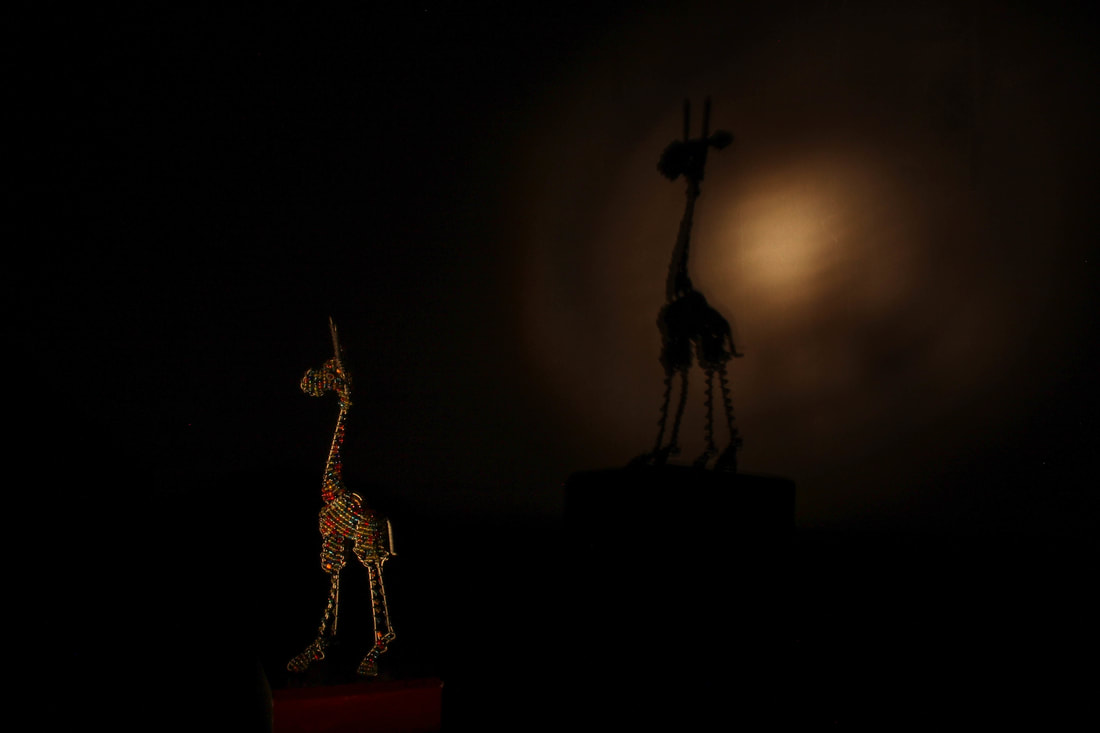
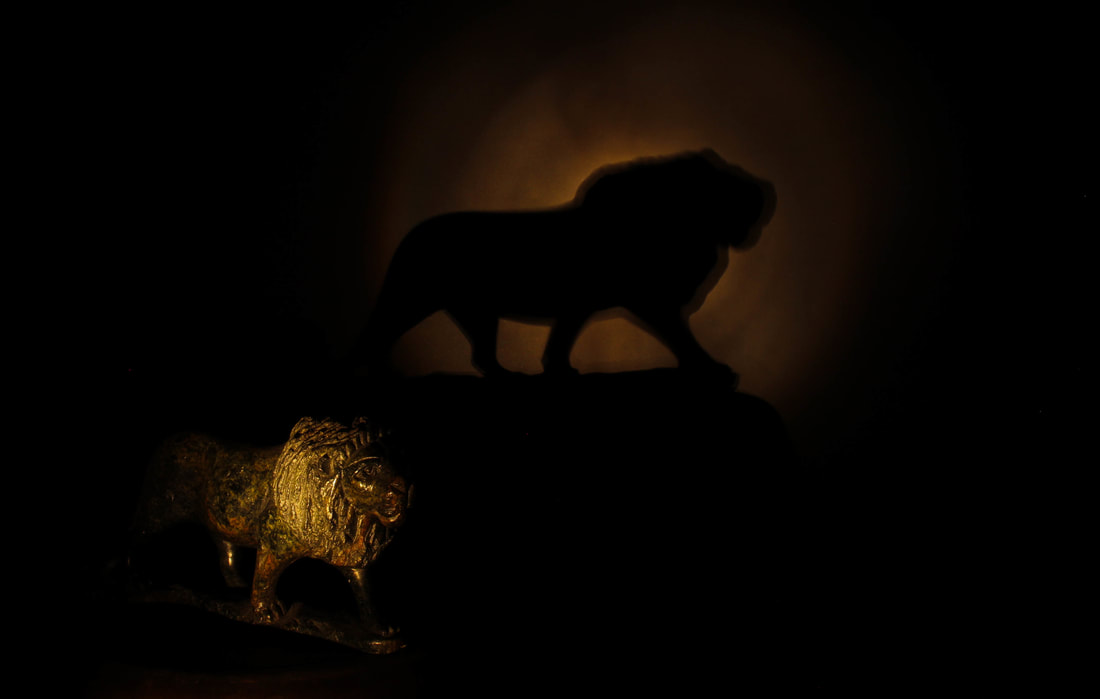
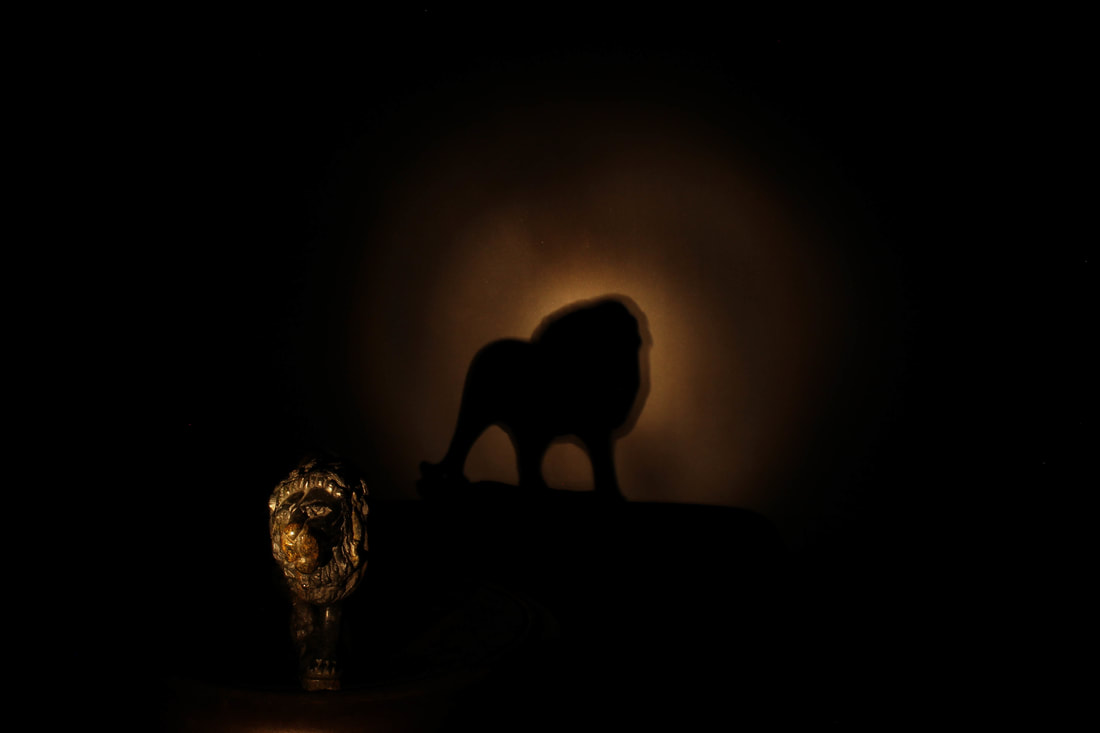
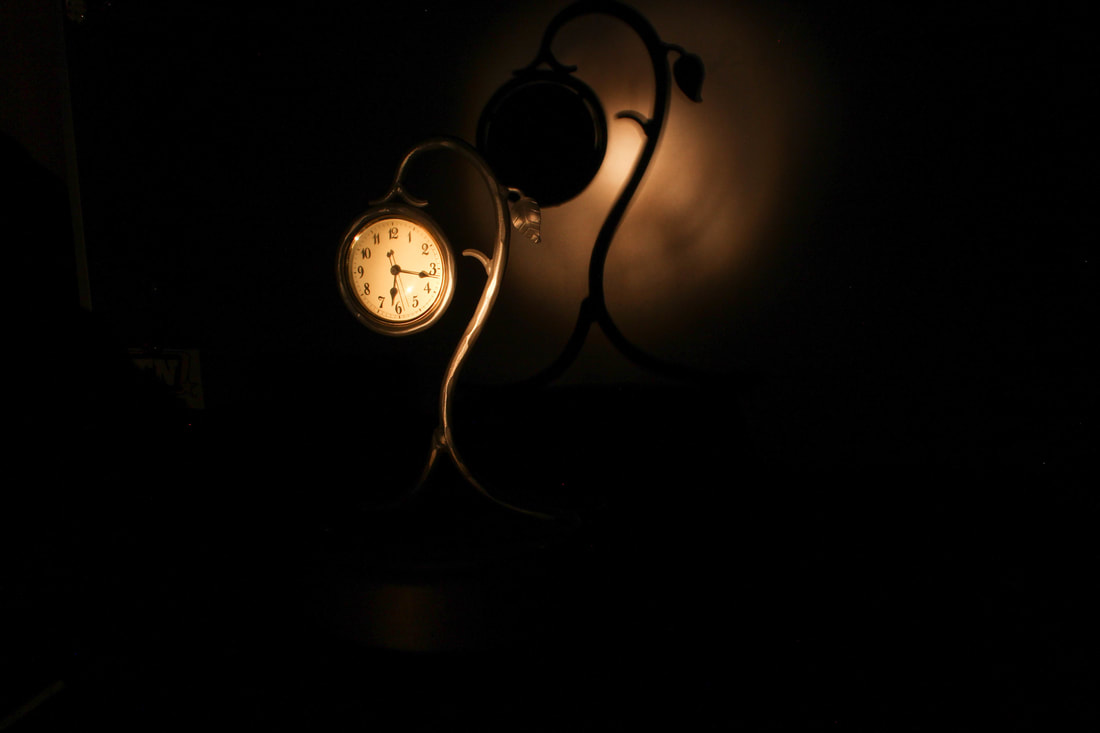
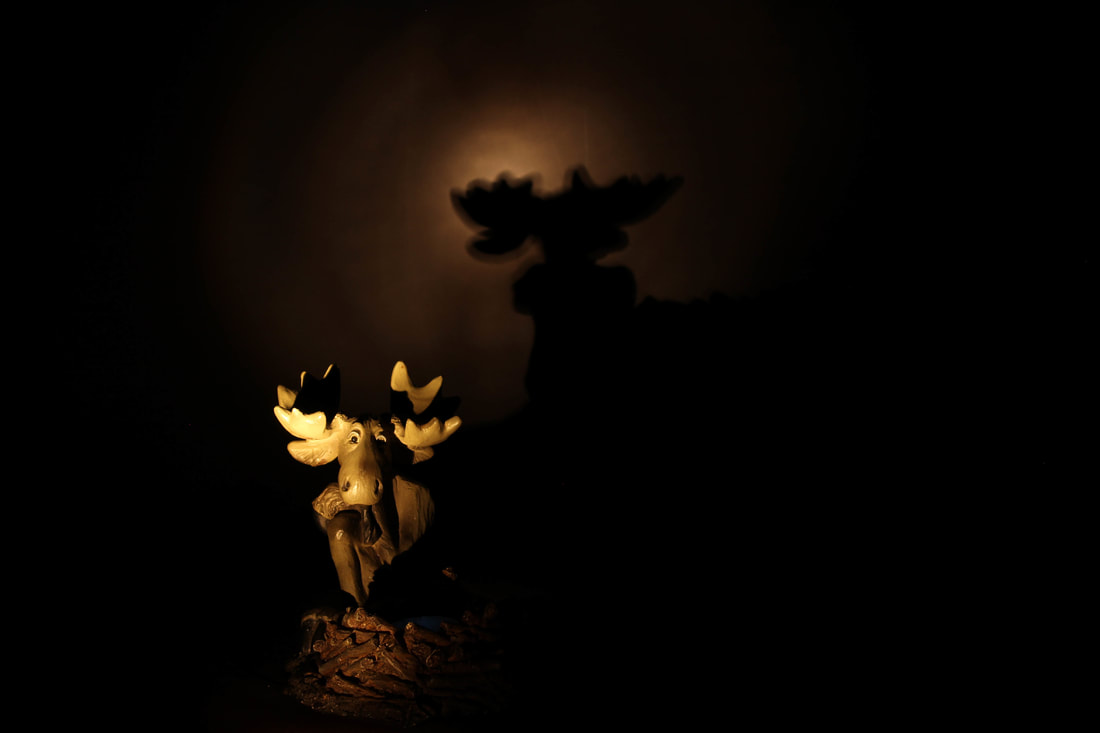
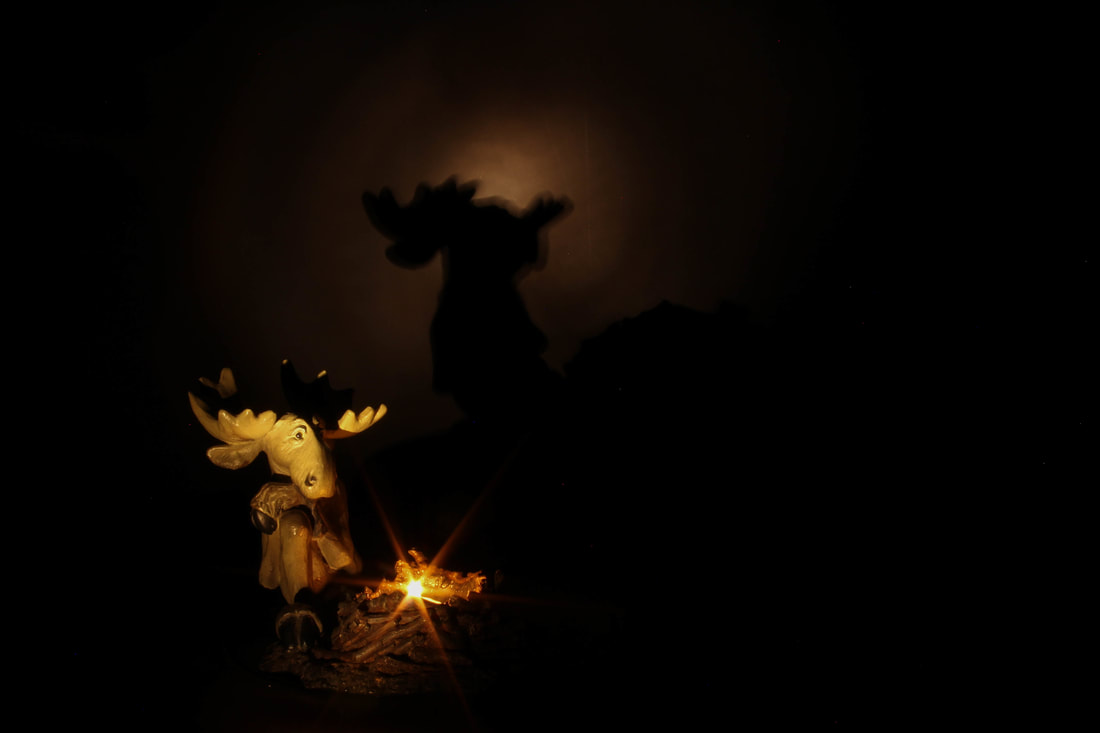
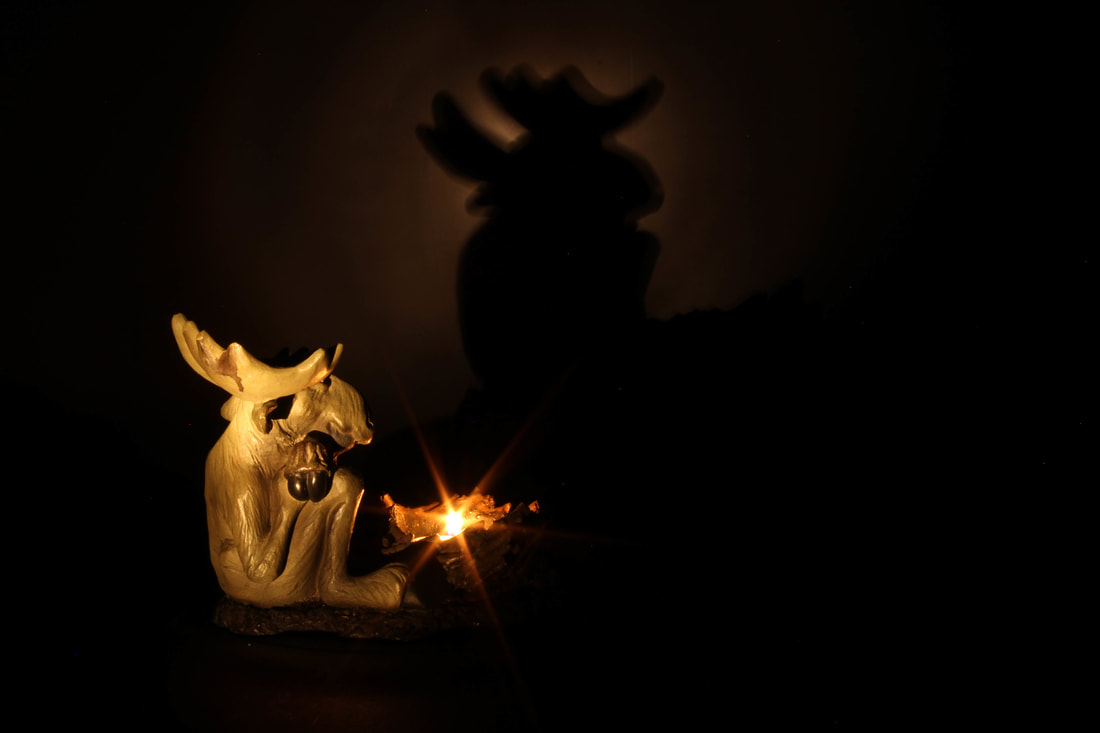
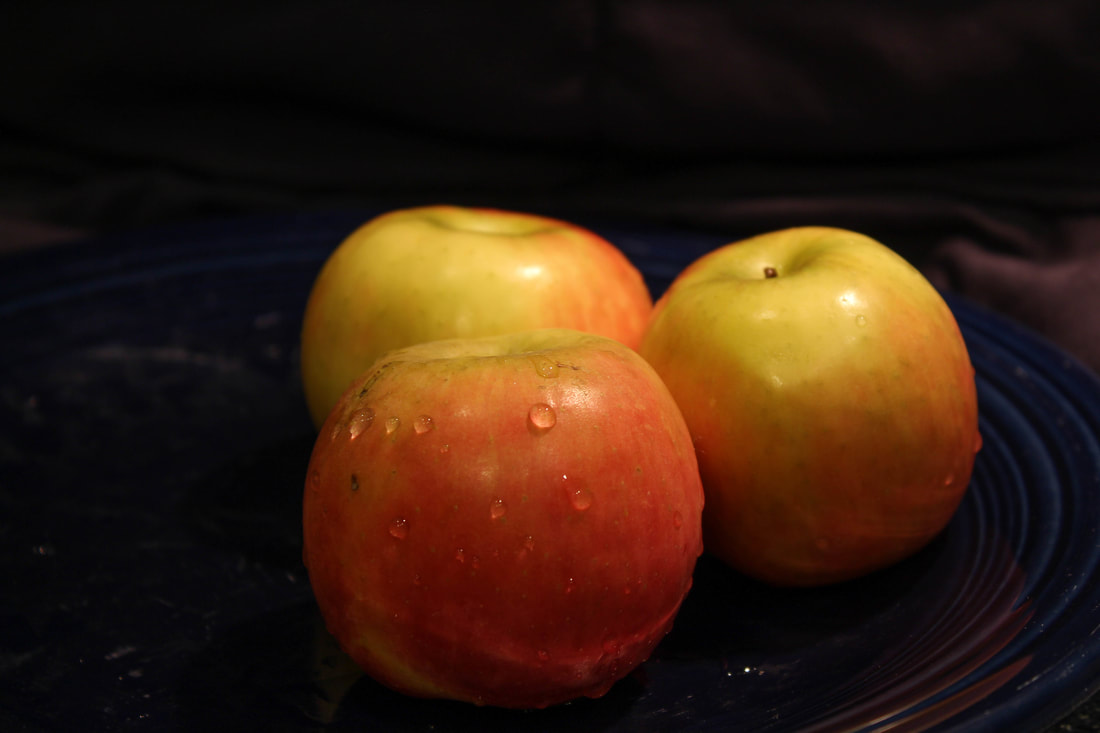
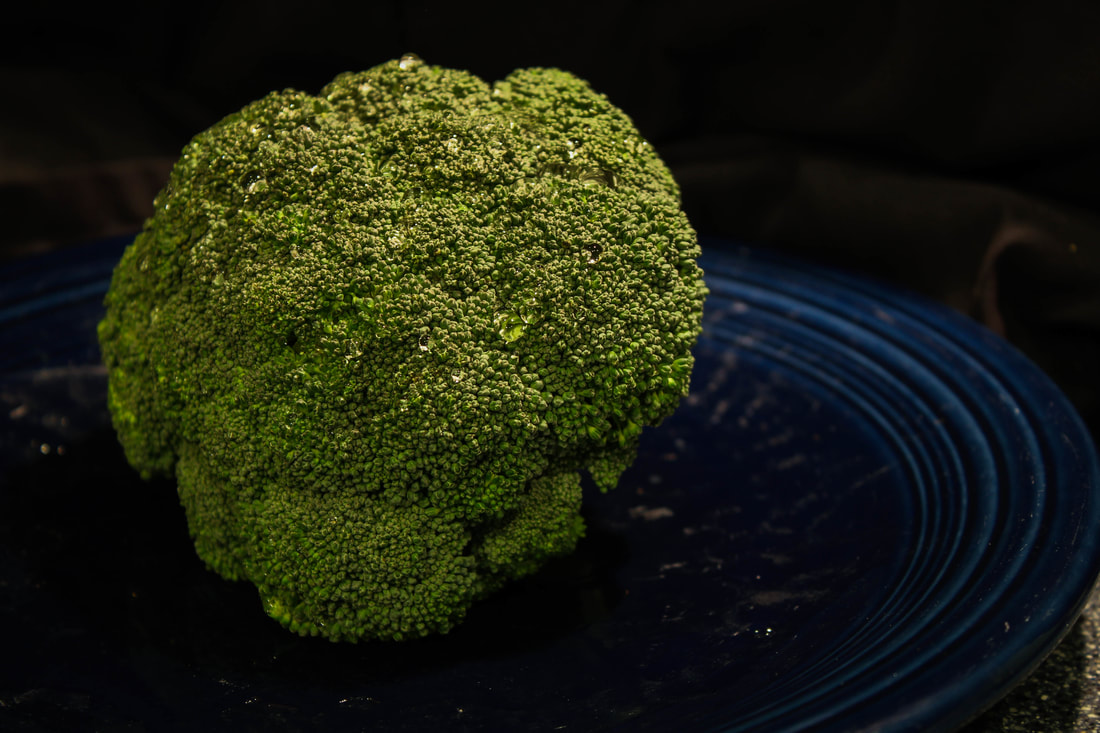
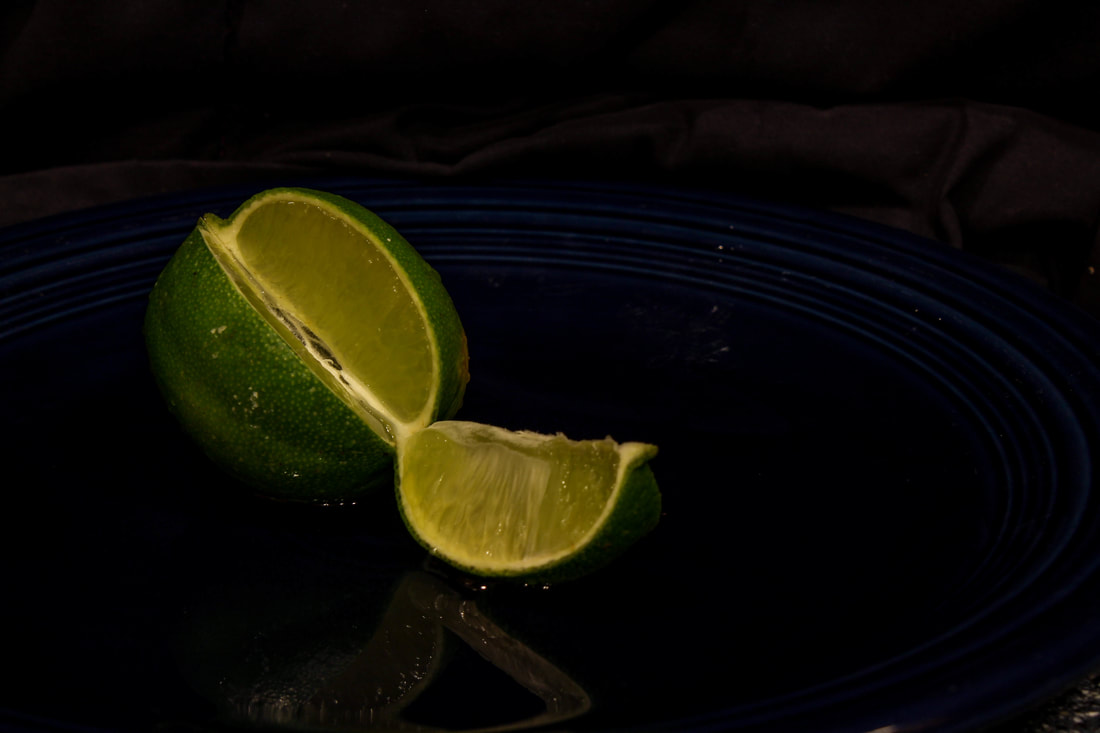
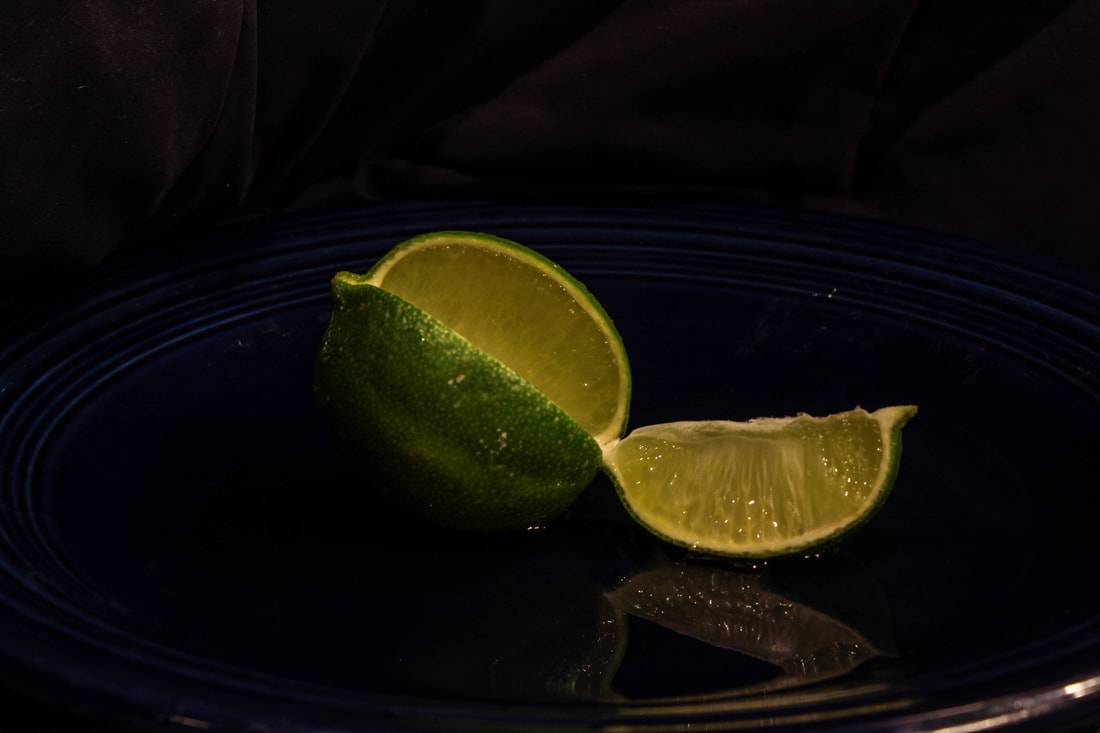
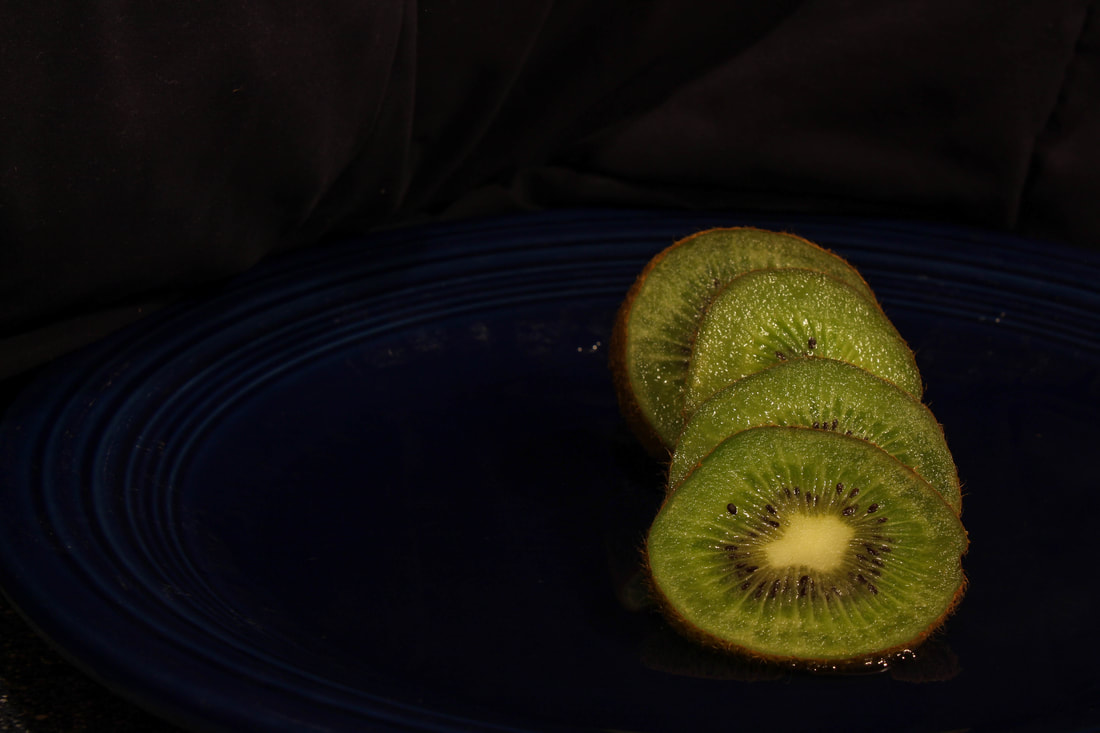
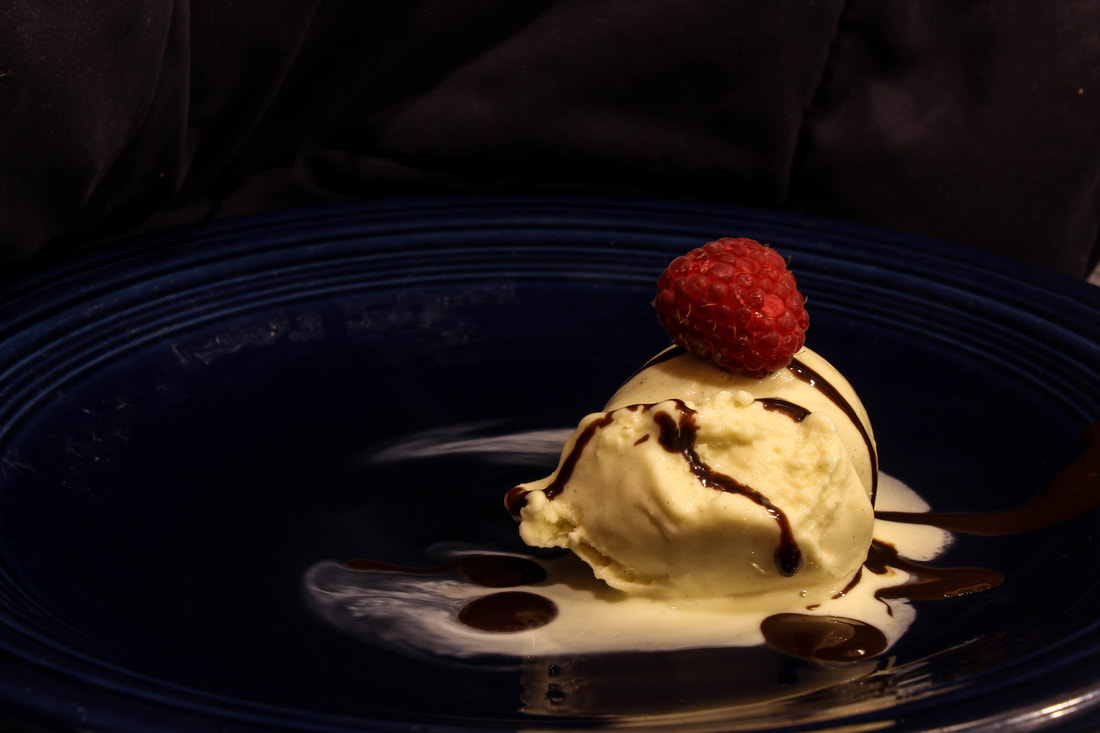
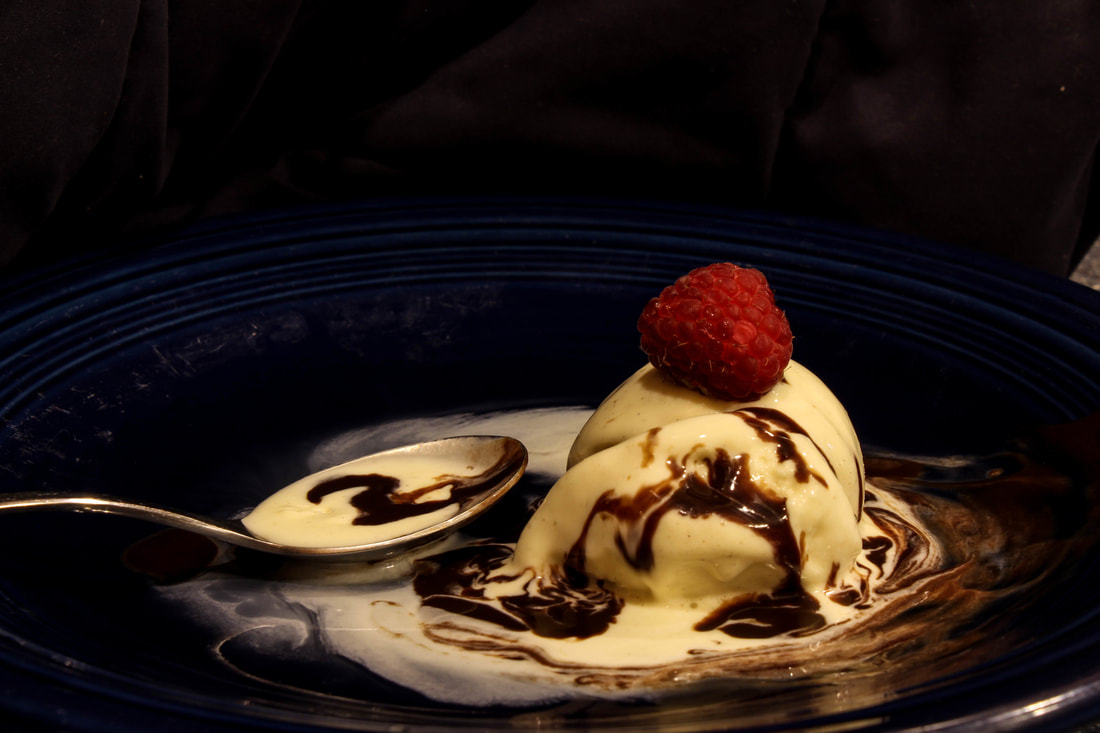
This weekend I shot light painting. I had a really fun time shooting and coming up with ideas. Light painting is one techniques used in photography that you can use to highlight an object. I did the light painting project, because about two weeks ago I was really inspired from the light painting demo we did in class. I was very curious and ideas were flowing through my head of things I could do with this technique. However, when I was shooting, it did not go over as easy as from when we did it in class. First, I learned you have to point your light source at the camera in order for the camera to pick up your light strokes. Also, I learned the importance of depth in photography. In the past, I always wanted to black out the backgrounds of my photos to make the subject really pop. However, in this assignment I tried to do some editing to bring some of the black background back to give in more of a three dimensional feel. Finally, learned that I can incorporate my other passions in photography like basketball to emphasize the subject, and express my life, feelings, and interests. 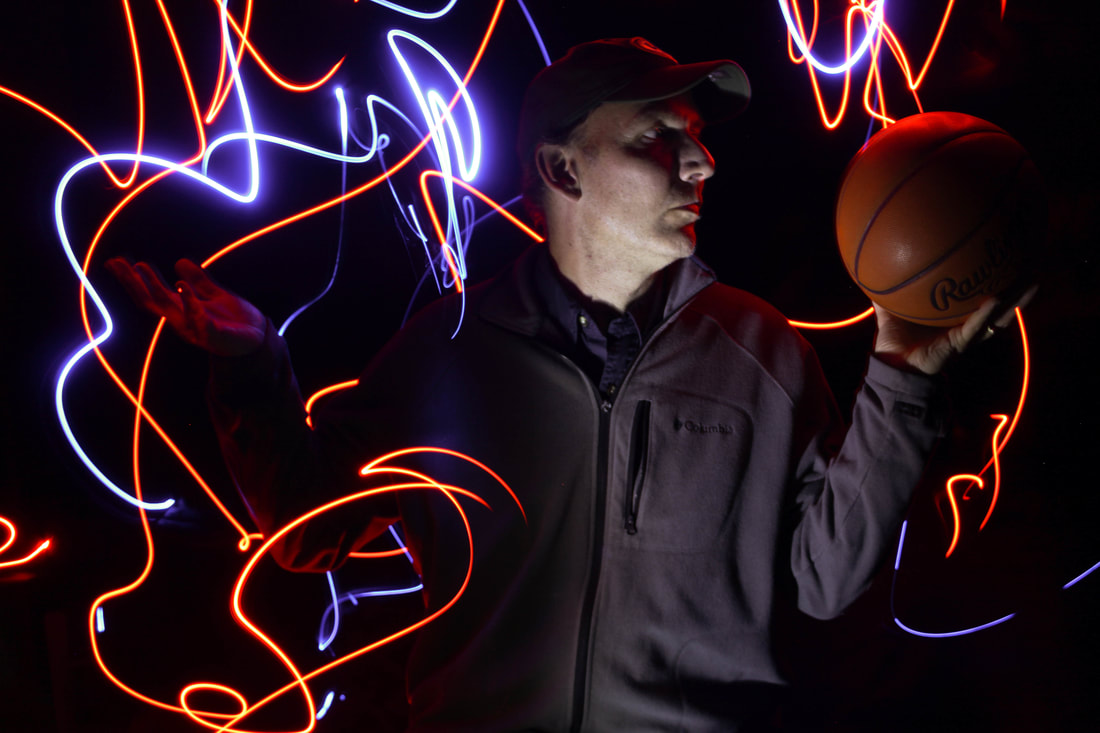 Shutter Speed: 30 seconds Aperture: f/stop 4.5 ISO: 100 In the photograph above, I brought up the saturation a little to bring color back to my Dad's face, and to make the red and blue lights a little less "white". I also, brought up the temperature of the photo to warm it up, and make it more eye pleasing. In this past week's photoshop assignment we learned how to compose panoramic photos. Panoramic photos are often many photos stitched together to create one really long wide angle photo. This technique is often used when a photographer wants to capture this scene, but their lens is not short and curved enough (wide angle lens) to capture it. In panoramic photos, a series of individual photos is taken. From this project, I learned that it is important to use the same exposure settings through out the all the photos and to manually focus on the first photo, but you must keep it the same throughout. If you manually focus each picture then the depths will be all out of wack. Using a tripod is very important as well to maintain one point of view. I also learned that when taking each photo side by side in the panorama you want to overlap them by around 30-40%. After the photos are taken, I learned that you use a tool called Photomerge in the application Photoshop to stitch the photos together. Then you are free to crop the Panorama to how you want it and your done. It is that simple! In addition, learned that lighting plays a big rule in how any photo turns out. Some of my panoramic photos were on a really nice and sunny day and they look great! There is blue skies and nice natural lighting. A few of my panoramic photos, however, were on a day when it was really cloudy day. They are still really cool, but not the blue sky pleasing that was in the other panoramas. Finally, I learned in this project that in Photomerge there is many ways that you can merge your photos. For example, in my 360 degree Panorama I used the spherical option. Then there is also auto, perspective, cylindrical, collage, and reposition that all stitch the photos together differently. In this project I had fun trying out the different options in Photomerge to create my panoramas. This weekend I did the macro topic, which was super exciting! Macro photography is close up photography that brings a whole new perspective to things to are often looked at from a much farther distance. The macro photography that I found when I searched on google was, for the most part, insects. Insects cannot not be seen in detail close up compared to what a macro lens can capture, but I still wanted to try insects. I did some pre-photo shoot research and found that on DSLR cameras that one cheap way of getting clear and very zoomed in photos is by using a reverse ring. In my research, I saw that some people got some super compelling results that are similar to what they would get with a macro lens. As we know, macro lenses are really, really expensive, so the eight dollar reverse ring was worth a try. Not to mention I got free shipping! How do you use the reverse ring you may be asking? Basically, what you do is put the reverse ring on the front of the lens and then take the lens off the camera body. Next, you turn the lens around, with the front facing the camera body, and twist the reverse ring (along with the lens) onto the camera body. Voila, you have a macro lens! Part of what I learned through this assignment is that you have to trick the camera by turning the aperture all the way up, before you put the "macro lens" on, and put the camera in manual focus. One thing I learned is that you have to turn the manual ring all the way out before you put the lens back on. This is because the camera will not be able to use the part of the manual ring that was not turned out, leaving you, as a photographer, at a huge disadvantage with not having the full ability to find the focus of the object. I also learned that a good ISO that is not too grainy is 800. This is in indoor lighting and with my camera, Cannon Rebel T6. I played around with ISO and knowing this will be really helpful in the future, especially when I do not have a tripod! In addition, in my research this trick only works well with certain focal lengths. The most highly recommended focal length was 50mm, but I found that 55mm worked best for me. Finally, I learned with this photography trick I experimented with, you have to be the right distance away from the subject for it to be clear, and only a small part of the object will be clear (so you have to make a choice). 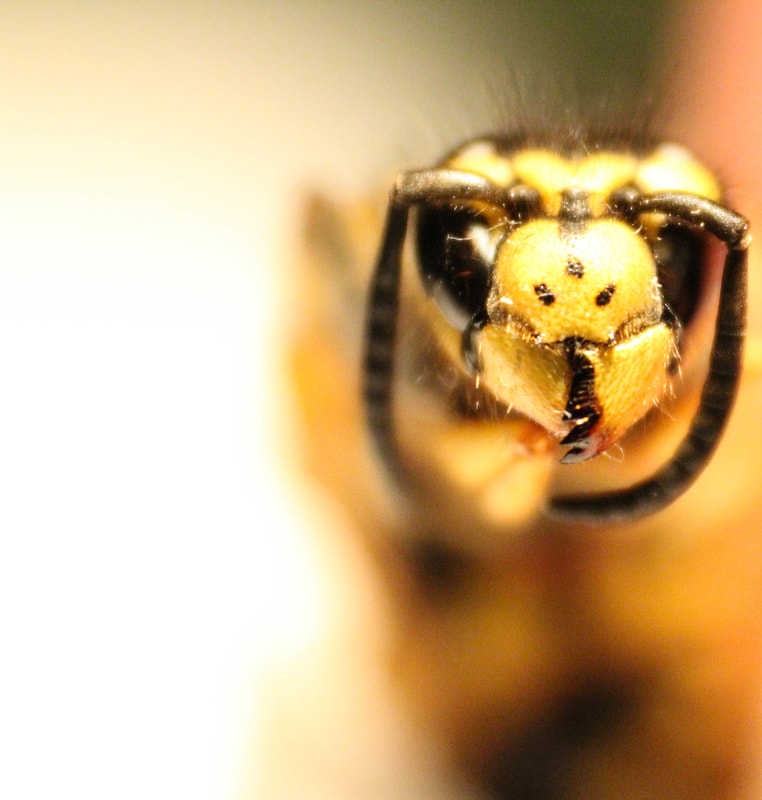 Shutter Speed: 1/25 second Aperature: f/stop 36 ISO: 800 The editing I did to the photo of the bee above was done in Lightroom. First, I cropped the photo to take away the distracting elements in the left side of the photo. Then, I added a little bit of saturation to bring out the yellow in the bee's face. Fnally, I added clarity to make the face seem very edgy. This past weekend, I shot shadows and light. My "studio" was in my basement, with the background (where the shadows are cast) being a chalk board. The source of light I used was two flashlights. One of the flashlights gave off more of a white light and the other gave off more of an orange light. Finally, I used a quilt for the "ground" that the objects could rest on. One thing I learned from this project was that the element for example, light color, all has to do with the subject in the image. I found with the industrial biker I liked the white light better, and with the African animals I liked the orange light better (because it gave the picture a more Savannah sunset feel). I also learned that the ISO especially with the orange light can get the subject very grainy if you go about 400. I had fun trying different subjects and realized some "models" are more photogenic than others. The best picture (found below) I really like because it is very clear and it looks like the biker's shadow is riding up a hill while the actual biker is biking flat. I created the hills and platforms seen in my photos below with a frying pan, the quilt, and a wooden pencil holder! Finally at the bottom is the moose pictures with a starburst effect with the candle (fire) light. I learned how to do this at the photo walk I took a few weeks ago in Ann Arbor. I applied this cool photography trick to the project and I love how it turned out! The candle placement was sort of an accident, so that was really fun to see the results. 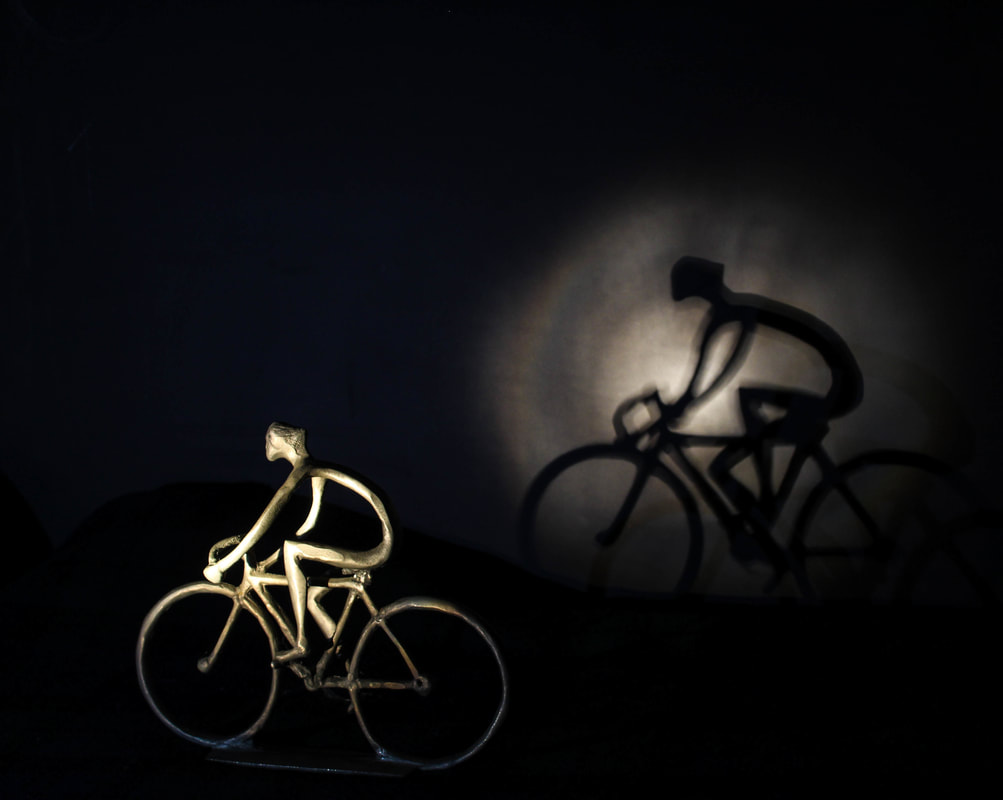 Shutter Speed: 0.8 seconds Aperture: f/stop 5.6 ISO: 200 The editing I did the photo above was raise the saturation a little bit to make the biker less washed out by the white intensity. Also, I cropped the the photo so the bikers head and body was in the left third and towards the bottom third (achieving the ascetically pleasing composition of the rule of thirds). Finally, I raised the clarity so the biker would end up very crisp and a little bit edgy, which I though may intrigue people that would look at the photo. In this project, I learned some of the basic tools you can use in Adobe Photoshop. This photoshop assignment was all about retouching. Below, you can see the before image, taken by Noelle Jacobs at the Detroit Auto Show, and the after image which I edited in photoshop. Some of the tools and adjustments I worked with were the clone stamp, level adjustments, cropping the photo, different layers within the photo, and selecting specific areas of the photo to make an adjustment. The goal of this assignment was to become more comfortable with the tools and adjustments available in photoshop. As you can see, I took out the light reflections on the hood of the car. I did this by using the clone stamp. Also, I blacked out all of the distracting elements in the background, using the paint brush and the quick selection tool. Finally, I did adjustments to the levels on the car, and then specifically to the car's windshield. 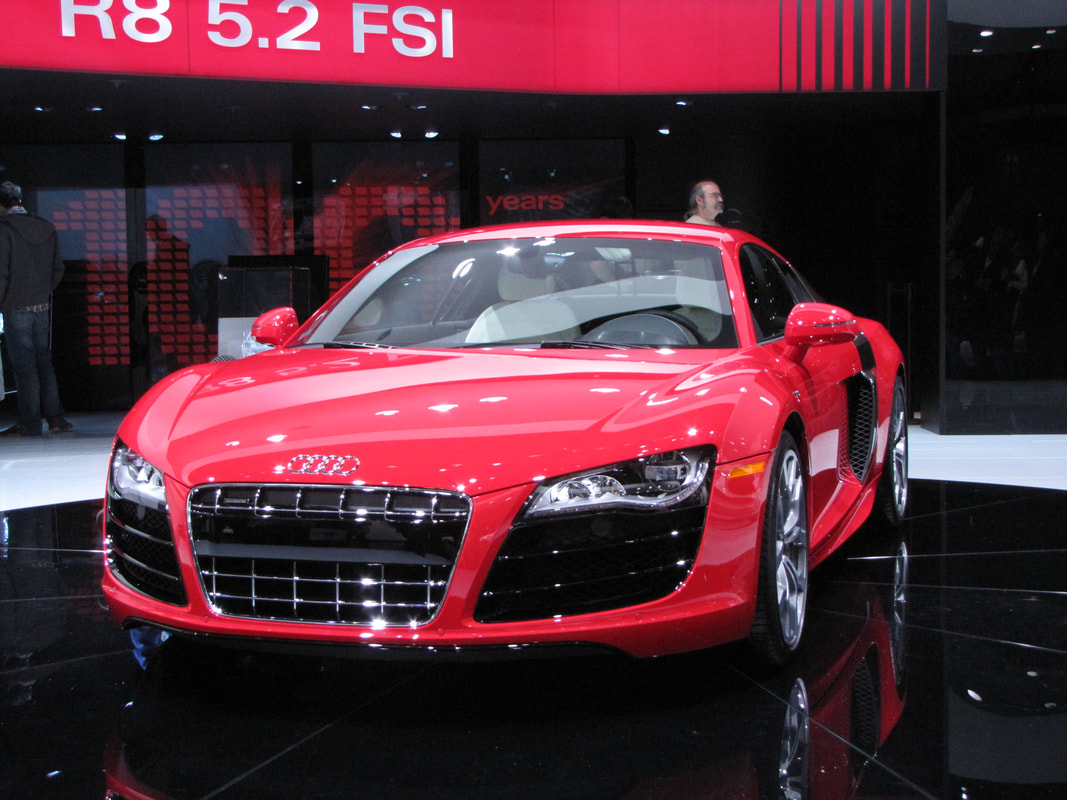 Before 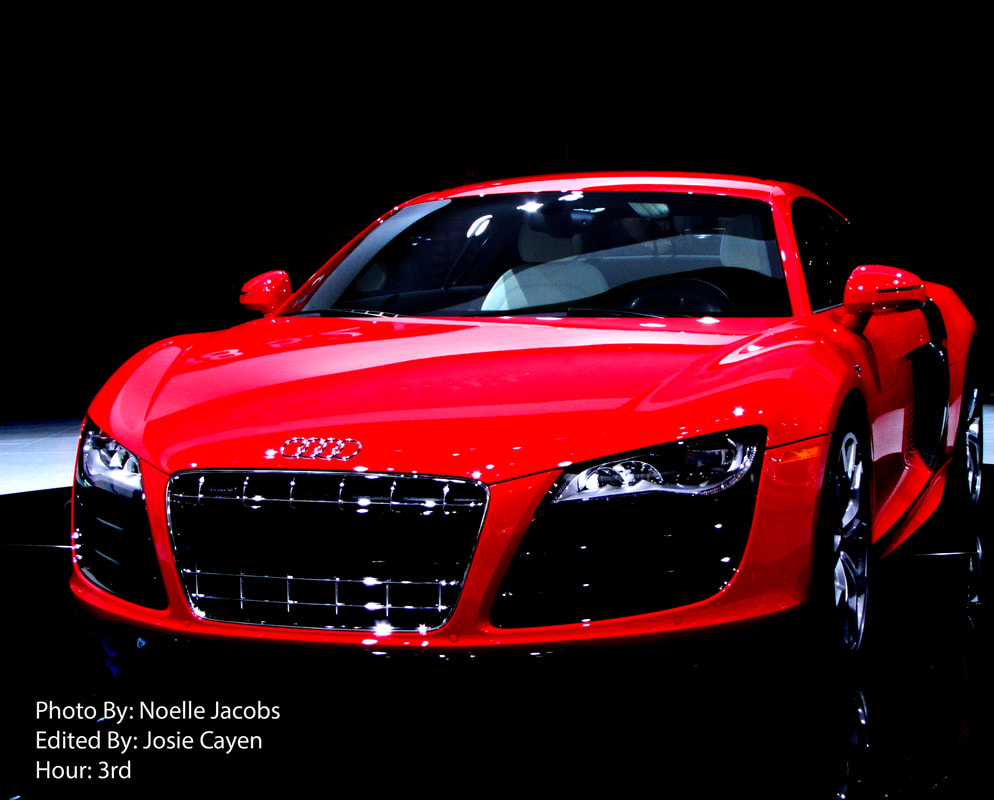 After This weekend I shot pictures of food. Originally, I was going to do the assignment, macro, with close up shots of nature, but the weather was very gloomy with a lot of clouds and rain, so the lighting was too hard to deal with. I decided I could control the lighting a little better indoors, controlling beyond the exposure triangle settings. One indoor photo assigment I found intriguing was food. Food has many different colors, textures, and sometimes patterns. When taking pictures of food I got to be a little more creative then you do with nature, which was really fun! Food photography is in ads, on billboards, and basically everywhere you look. Food companies are trying to get you to buy their product, and one key component of making a person want to buy it, is to make the food it look appetizing. This is what I focused on when shooting. I learned that when playing around with the background and lighting, the photo looks much better when you isolate the food from the rest of the photo. I found that focusing the light on the food, having a dark background (navy blue blanket), and a little bit of editing could accomplish this. Another thing I learned in this project was that having the whole food in focus (small size aperature) was important because the audience will lose interest if only one particular spot of the food was in focus. When I was shooting the ice cream, I learned that I need to work with urgency because believe it or not, ice cream does melt even when you are taking photos of it! It was pretty cool in the end to see my photos of the ice cream in a sequence because it showed the ice cream melting over time. 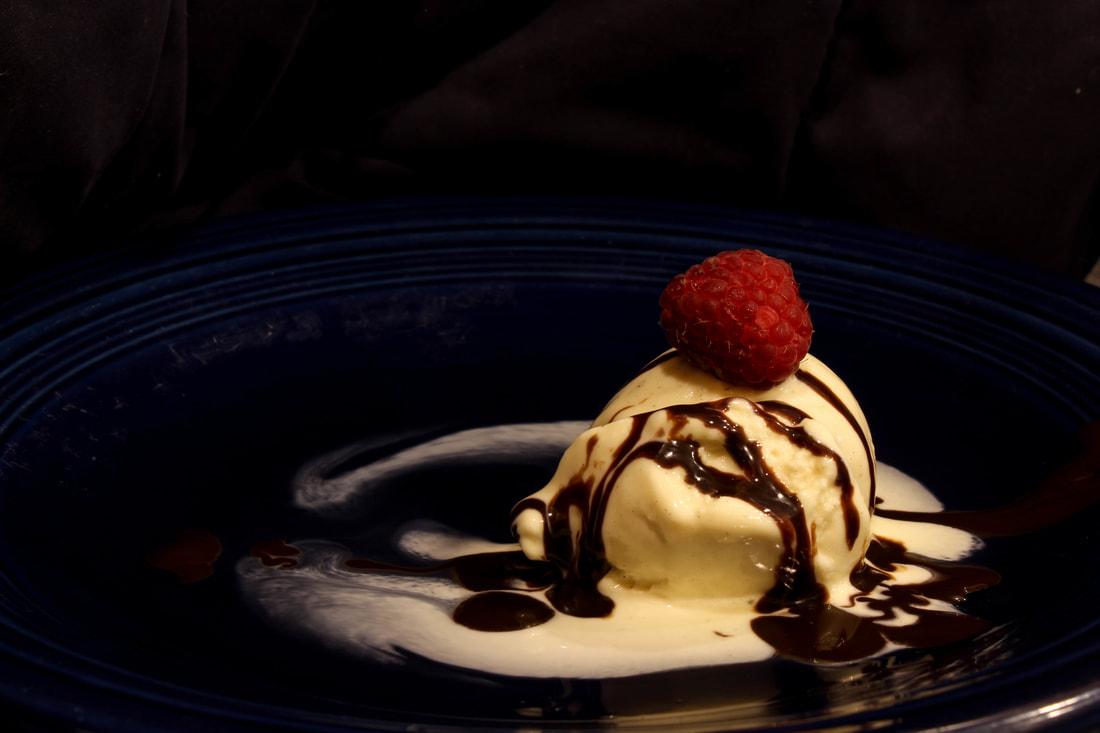 Aperature: f/stop 14 Shutter Speed: 3.2 seconds (I used a tripod) ISO: 100 In my best photo, (above) I brightened up the shadows so you could see that the ice cream was on a plate and not floating in mid-air. Also, I made the blacks more black, so you could not tell that the background was a blanket. Finally, I added clarity so the raspberry's details were more in focus. In this assignment, we got to use Adobe Photoshop for the first time. The final product was to create our own version of Andy Warhol's pop art. We did so with bright colors like, red, green, yellow, and blue. The original picture had to be of a person, so I used the photo from the people assigment last week. As you can see when you photoshop a photo, it looks much different from the orginial look. 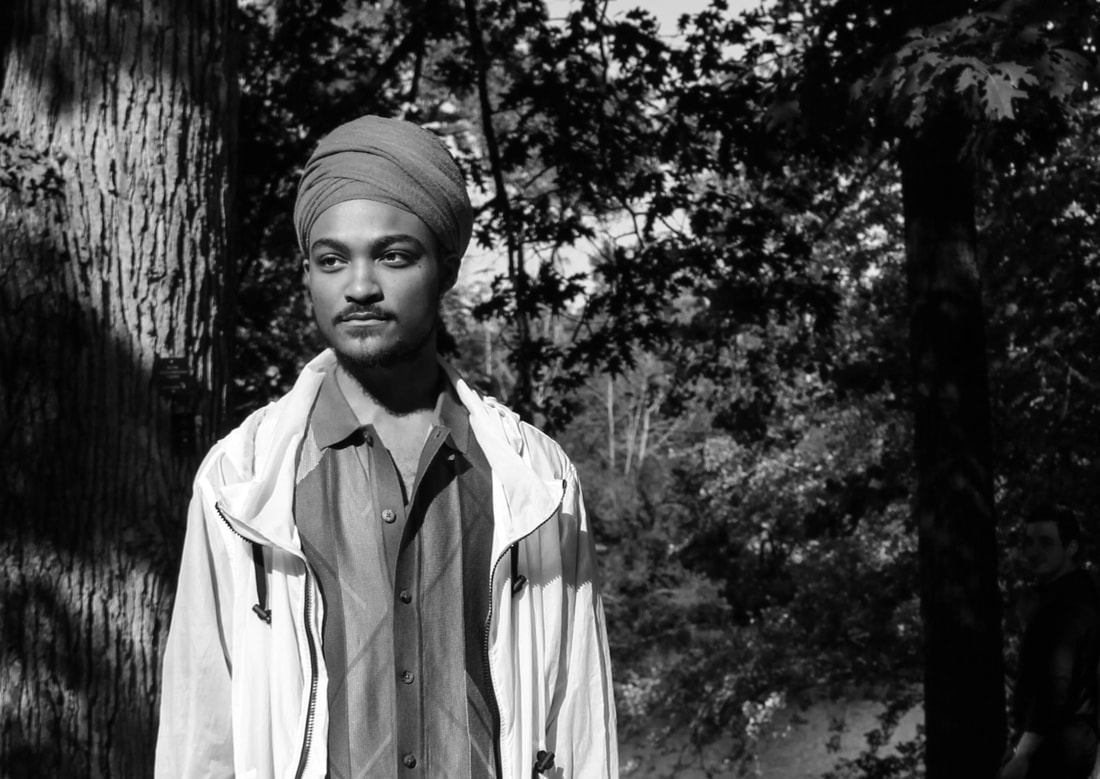 Original Photograph 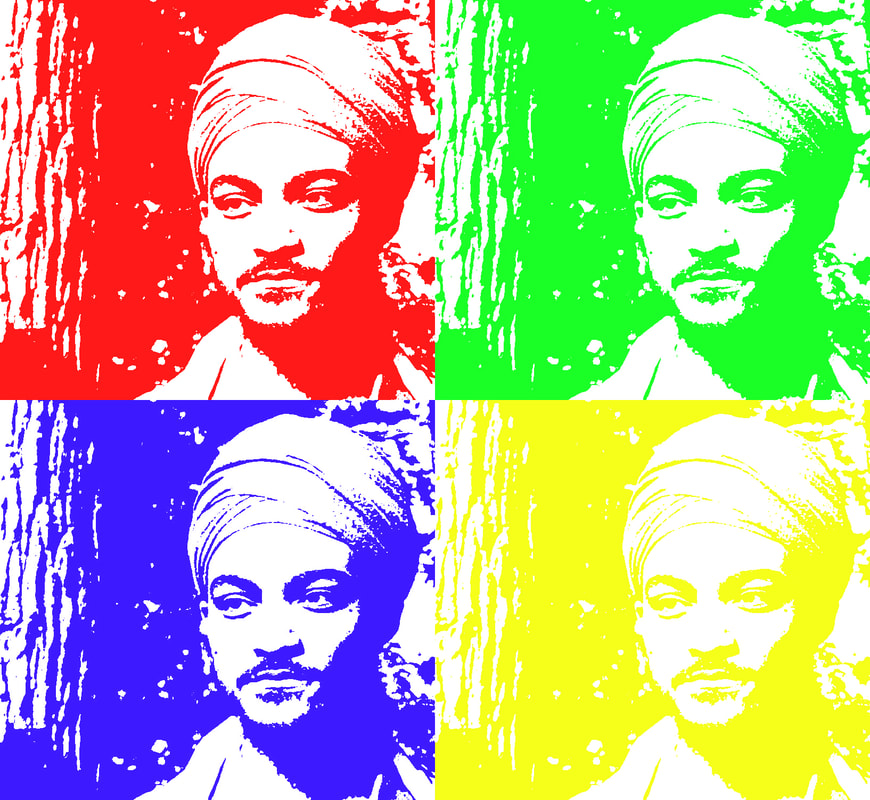 Pop Art Version I have never used photoshop before, so in this project I learned some of the basics manuvers around the application. Also, I learned some how to make photos look more like art by changing the colors, pixels, and thresholds. In addition, I learned that following directions, carefuly, is important. This is because, if you do a step wrong or skip it all together it might not make much a difference, until awhile later and you have to redo everything. Adobe Photoshop seems to be very complex, but during this assignment I feel that I have broken the ice with photoshop.
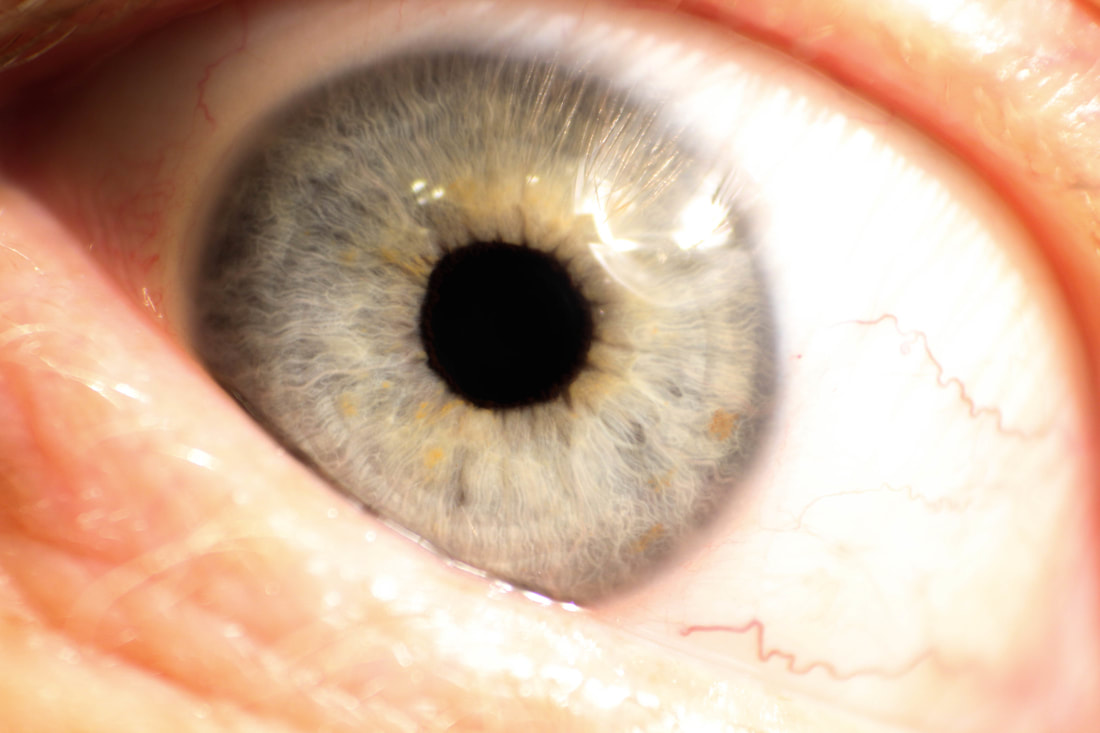
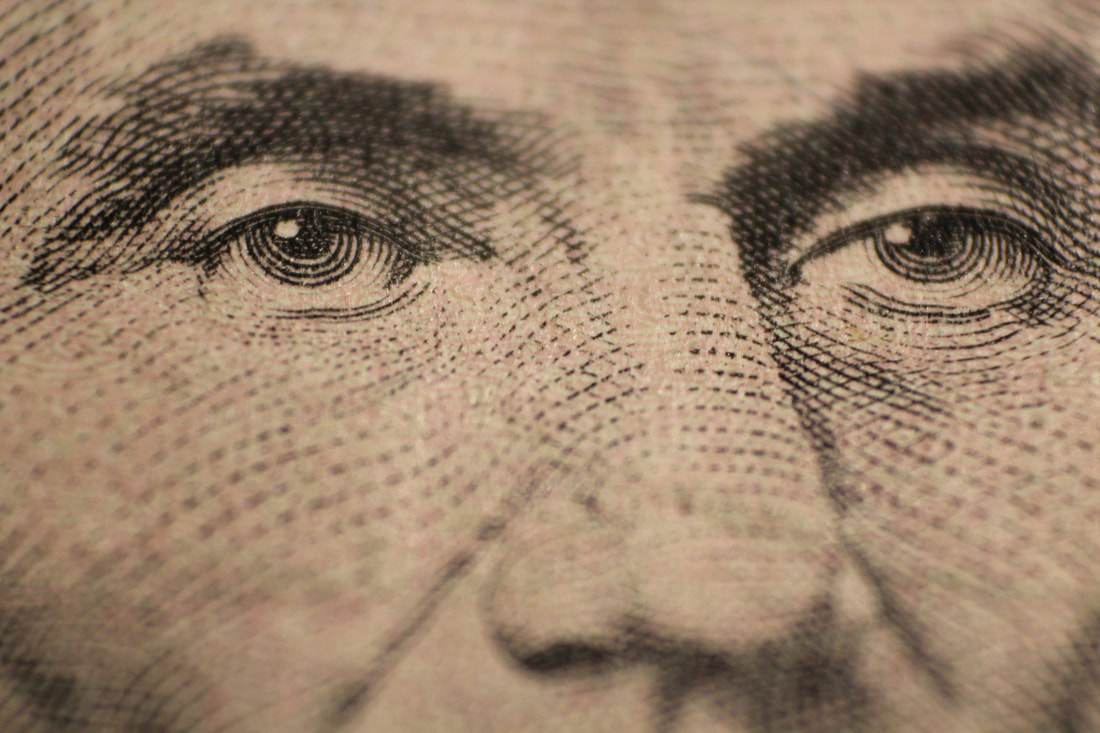
This past week I shot photos of people. I went out on a photo walk that Camera Mall was hosting and shot some pictures of people on the walk and around the Nichols Arboretum in Ann Arbor. The photo walk was with Olympus Visionary, Frank Smith. I learned a lot from him and I am glad I went. Along the photo walk, we ran into this man that had rather beautiful eyes and a fashionable outfit, he looked like a model. The leader, Frank Smith, stopped this man and asked if we could take some photos of him. He was very excited about the idea of having his own photo shoot, so we shot away. Some of the things he suggested for taking pictures of people were to manually focus in on the eyes. On that particular day it was sunny, so he recommended having 100-300 ISO. Also, since all that needs to be in focus in a portrait shot is the face, he recommended blurring the background with 4.0-8.0 f/stops. I received very helpful feedback from him. Besides learning about portrait photography, I asked him about how he does his night sky photography. He told me that he likes to have an object in front of some of the stars for size reference. He said that you have to light that object up with red light for the most balanced photo. In his photos he had hoodoos from Bryce Canyon National Park, but he said any interesting object would do. He also suggested a really high ISO and long exposure. Another thing that I learned from Mr. Smith was how to shoot starburst shots. A starburst is when the sun is just barely peaking through the leaves of trees, in this case, and it creates this six pointed star. You can do this by being in the right spot, so you can faintly observe the starburst with your eye and have 20-30 f/stop. After the photo walk, I explored East Ann Arbor and found some other cool compositions with people. I continued to use the compositions I learned in the first photo assignment.  Shutter Speed: 1/100 Second Aperture: f/stop 5.6 ISO: 100 In Lightroom, all I did was crop the photo down from a full body shot to a face and chest shot. Also, I made it black and white so you would focus more on the details of the photo, not the color. |
AuthorWrite something about yourself. No need to be fancy, just an overview. Archives
November 2018
Categories |
Darin Smalls


 RSS Feed
