|
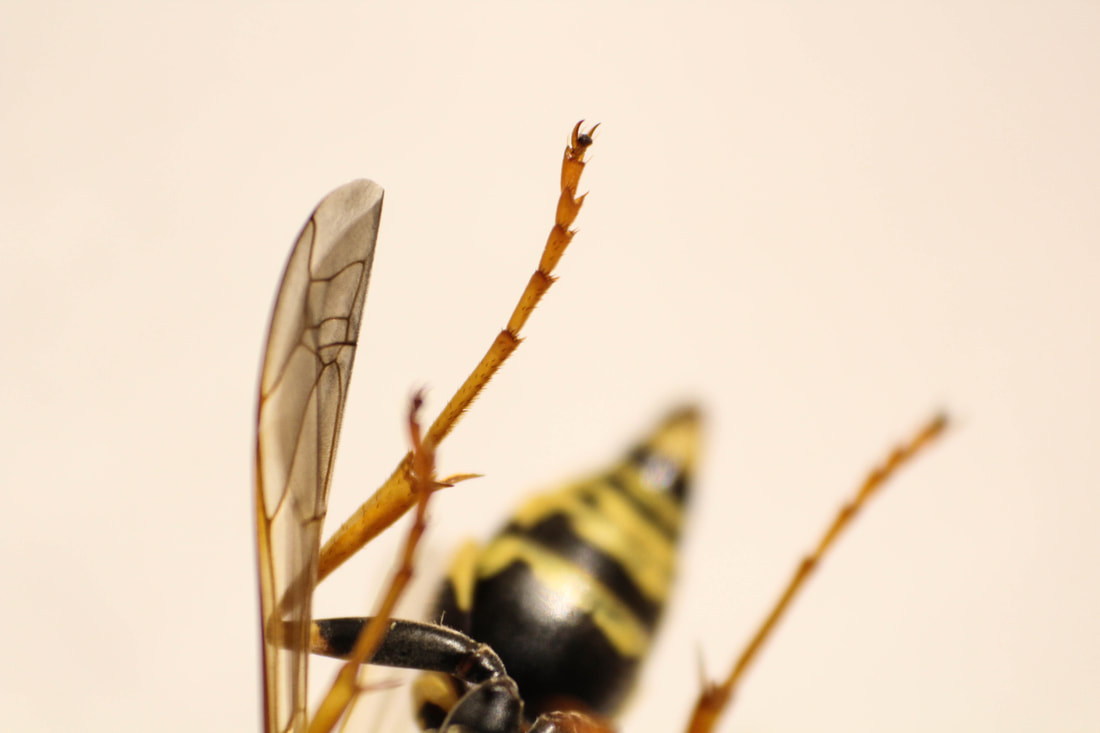
This weekend I did the macro topic, which was super exciting! Macro photography is close up photography that brings a whole new perspective to things to are often looked at from a much farther distance. The macro photography that I found when I searched on google was, for the most part, insects. Insects cannot not be seen in detail close up compared to what a macro lens can capture, but I still wanted to try insects. I did some pre-photo shoot research and found that on DSLR cameras that one cheap way of getting clear and very zoomed in photos is by using a reverse ring. In my research, I saw that some people got some super compelling results that are similar to what they would get with a macro lens. As we know, macro lenses are really, really expensive, so the eight dollar reverse ring was worth a try. Not to mention I got free shipping! How do you use the reverse ring you may be asking? Basically, what you do is put the reverse ring on the front of the lens and then take the lens off the camera body. Next, you turn the lens around, with the front facing the camera body, and twist the reverse ring (along with the lens) onto the camera body. Voila, you have a macro lens! Part of what I learned through this assignment is that you have to trick the camera by turning the aperture all the way up, before you put the "macro lens" on, and put the camera in manual focus. One thing I learned is that you have to turn the manual ring all the way out before you put the lens back on. This is because the camera will not be able to use the part of the manual ring that was not turned out, leaving you, as a photographer, at a huge disadvantage with not having the full ability to find the focus of the object. I also learned that a good ISO that is not too grainy is 800. This is in indoor lighting and with my camera, Cannon Rebel T6. I played around with ISO and knowing this will be really helpful in the future, especially when I do not have a tripod! In addition, in my research this trick only works well with certain focal lengths. The most highly recommended focal length was 50mm, but I found that 55mm worked best for me. Finally, I learned with this photography trick I experimented with, you have to be the right distance away from the subject for it to be clear, and only a small part of the object will be clear (so you have to make a choice). 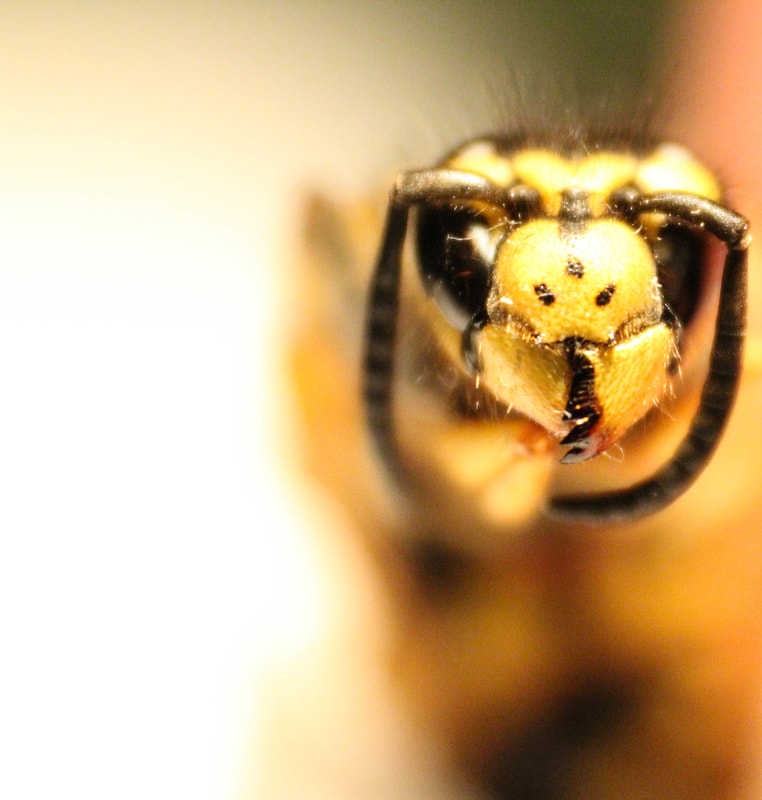 Shutter Speed: 1/25 second Aperature: f/stop 36 ISO: 800 The editing I did to the photo of the bee above was done in Lightroom. First, I cropped the photo to take away the distracting elements in the left side of the photo. Then, I added a little bit of saturation to bring out the yellow in the bee's face. Fnally, I added clarity to make the face seem very edgy.
0 Comments
Leave a Reply. |
AuthorWrite something about yourself. No need to be fancy, just an overview. Archives
November 2018
Categories |
Darin Smalls

 RSS Feed
