|
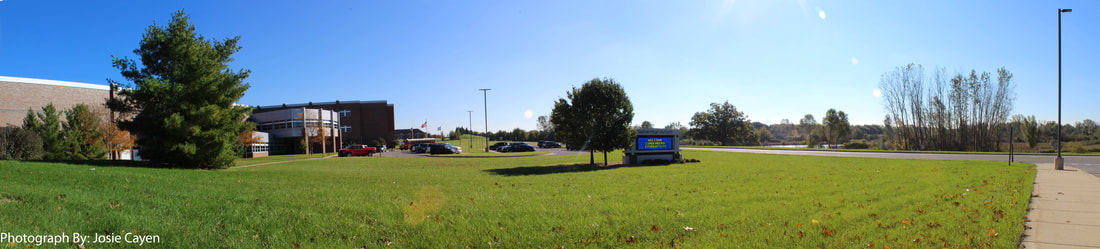
In this past week's photoshop assignment we learned how to compose panoramic photos. Panoramic photos are often many photos stitched together to create one really long wide angle photo. This technique is often used when a photographer wants to capture this scene, but their lens is not short and curved enough (wide angle lens) to capture it. In panoramic photos, a series of individual photos is taken. From this project, I learned that it is important to use the same exposure settings through out the all the photos and to manually focus on the first photo, but you must keep it the same throughout. If you manually focus each picture then the depths will be all out of wack. Using a tripod is very important as well to maintain one point of view. I also learned that when taking each photo side by side in the panorama you want to overlap them by around 30-40%. After the photos are taken, I learned that you use a tool called Photomerge in the application Photoshop to stitch the photos together. Then you are free to crop the Panorama to how you want it and your done. It is that simple! In addition, learned that lighting plays a big rule in how any photo turns out. Some of my panoramic photos were on a really nice and sunny day and they look great! There is blue skies and nice natural lighting. A few of my panoramic photos, however, were on a day when it was really cloudy day. They are still really cool, but not the blue sky pleasing that was in the other panoramas. Finally, I learned in this project that in Photomerge there is many ways that you can merge your photos. For example, in my 360 degree Panorama I used the spherical option. Then there is also auto, perspective, cylindrical, collage, and reposition that all stitch the photos together differently. In this project I had fun trying out the different options in Photomerge to create my panoramas.
0 Comments
Leave a Reply. |
AuthorWrite something about yourself. No need to be fancy, just an overview. Archives
November 2018
Categories |
Darin Smalls


 RSS Feed
