|
The photoshop project this week was portrait photography. In this project, we did two different light settings. One was window lighting, in which we used a bounce card to reflect the sunlight onto the other side of a person's face. We did this so one side of the person's face was bright and properly exposed, and the other side was not too dark because of the shadows coming from their nose. The other light setting was a 3 point set up. This includes a main light (where most of the light comes from), a fill light (the light that fills in the shadows of the other side of the face), and finally a hair light (which was behind the backdrop). The hair light was used to help separate the subject from the background. In this project, I learned how to change white balance properly in the manual modes. Basically, you want the whites in the photo to be white (not orange or blue). In the window light setting I used the cloud white balance because it was a cloudy day, and in the 3 point setting I used tungsten light. Another important component of portrait photography is to take the photos vertical, because that is the style of this particular type of photography. One very cool thing I got out of this project I got was to apply the skills I have developed in photoshop. At particular points I was really stumped and challenged, but eventually I was able to come up with a way. I really enjoyed this photoshop assignment because we got to go out and take photos, and be the photographer, not just the editor. 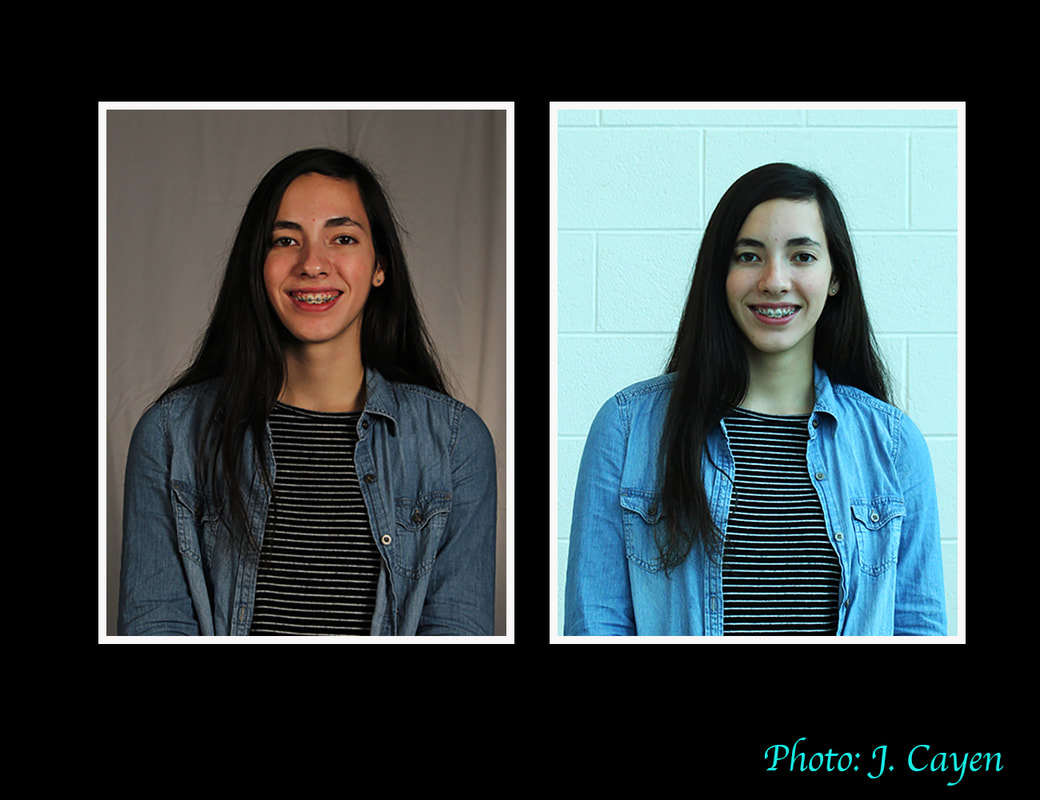
0 Comments
Leave a Reply. |
AuthorWrite something about yourself. No need to be fancy, just an overview. Archives
November 2018
Categories |
Darin Smalls
 RSS Feed
