|
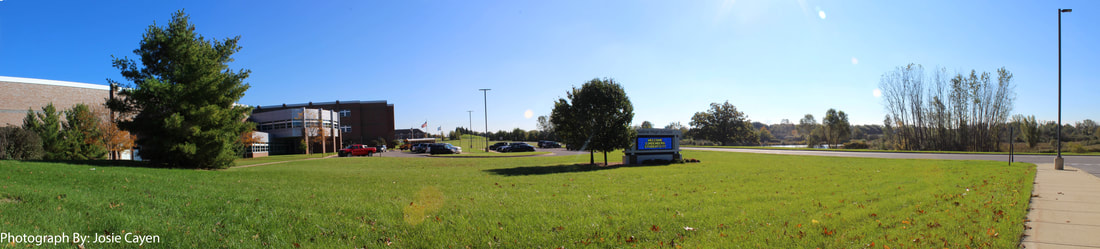
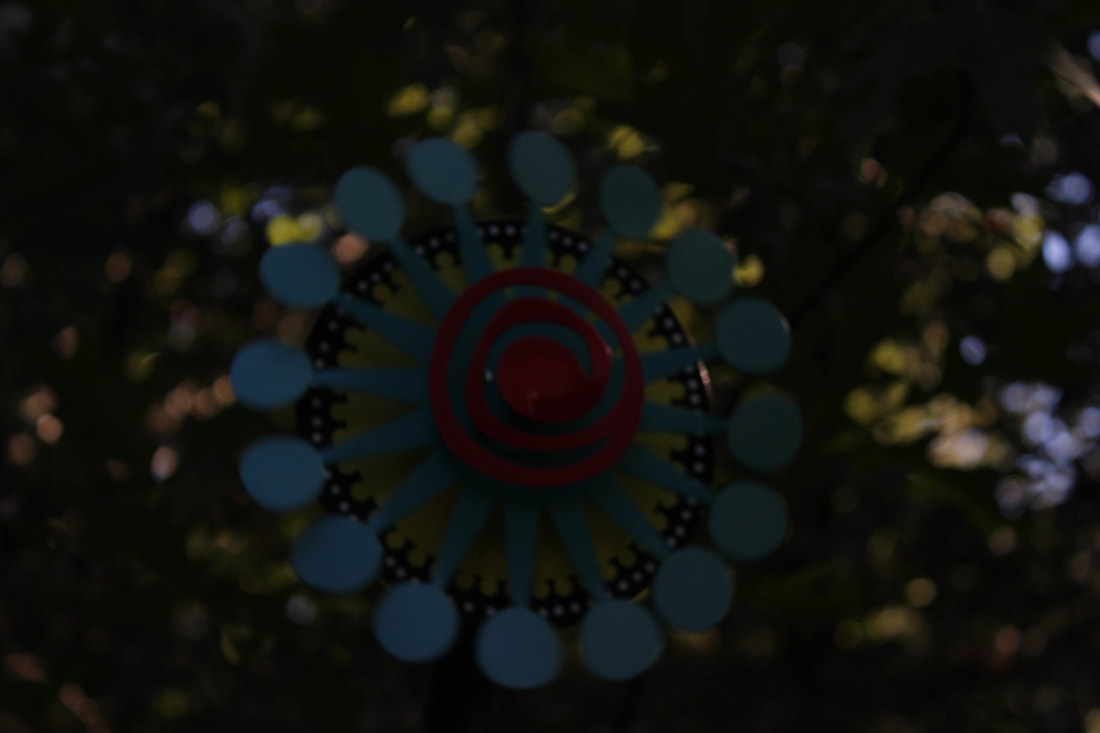
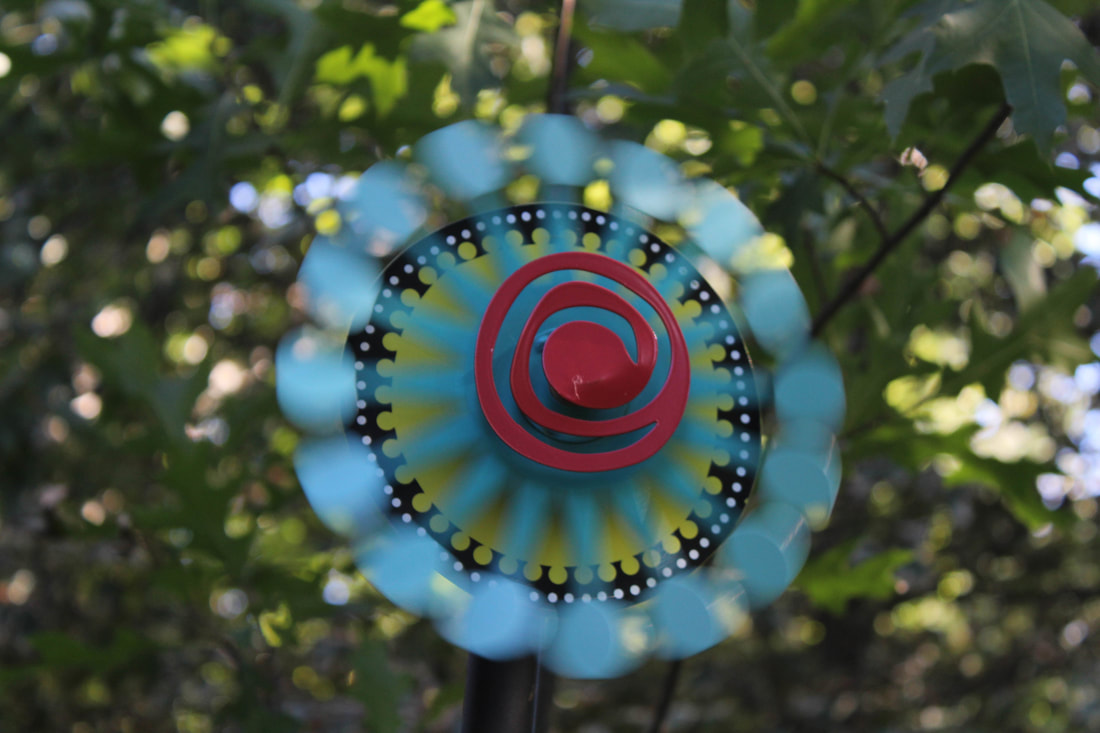
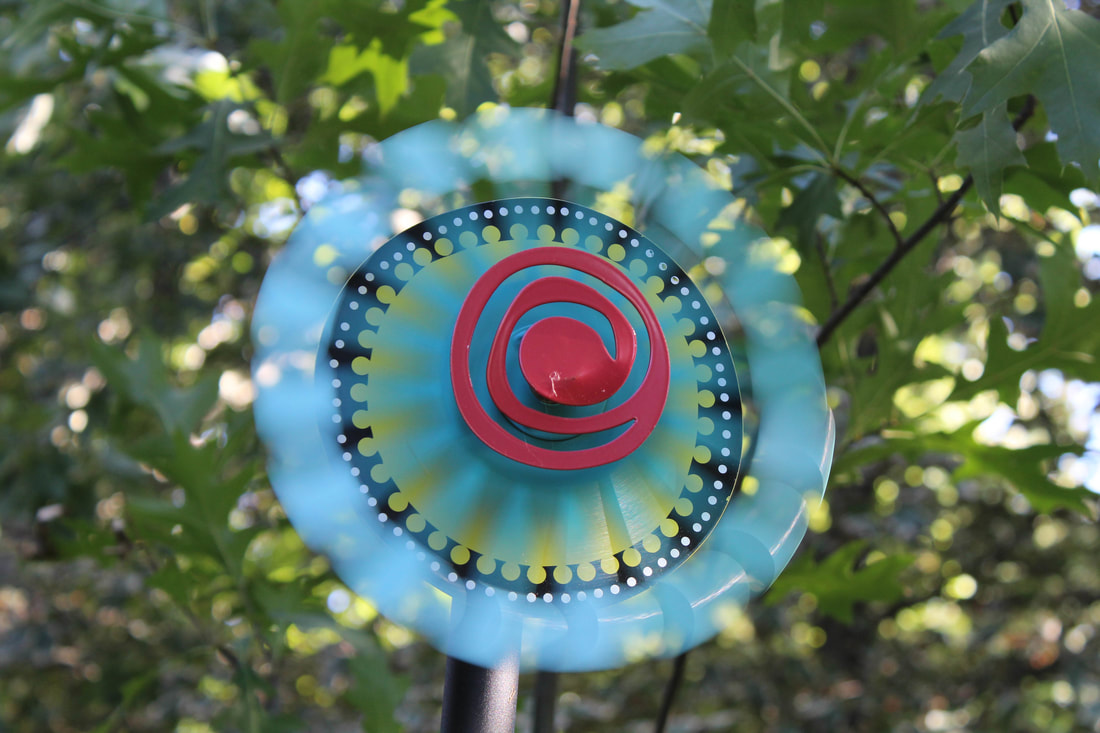
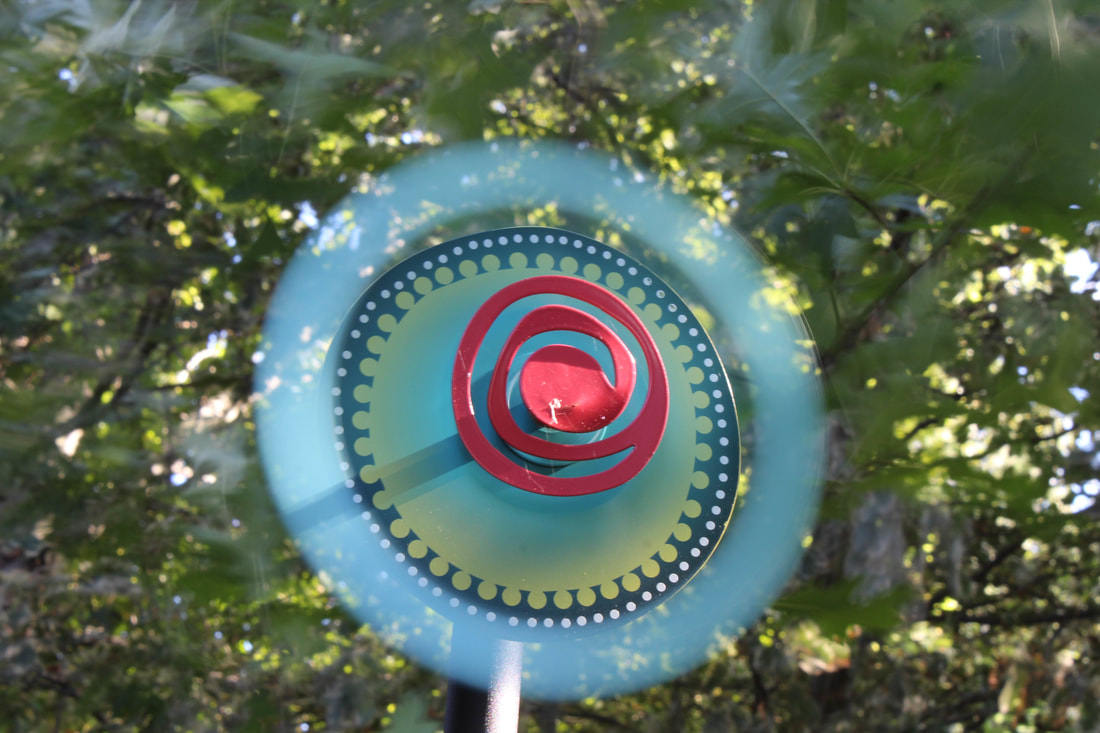
Twelve weeks has gone by so fast, but none the less I have improved enormously as a photographer, including something completely new to me, the editing side of photography. I remember signing up for this digital photography class practically a year ago. Going into this class, I wanted to come out being a photographer that captured moments that could inspire people, and bring a new perspective to objects ad scenes. I wanted to know how to take photos that involved what I thought of as "the number thingys"(Shutter speed, Aperture, and ISO) . I wanted to create art, not just walk pass by a cool landscape or object and snap a photo that I hoped would be in focus. I have come a long way since then. I remember when Mr. Bush told us to go out anywhere on the school grounds and take 25 photos of the exact same object. I was so excited to go out and take photos during the school day. About five minutes later, I was lost. I had no idea what to take photos of, nothing seemed cool and National Geographic worthy. Well I learned that day, I was not just going to walk into this digital photography class and automatically have the eye of the photographer. The photographer's eye is something you can learn to an extent, but it is truly a gift. That day all my eye saw was a trashcan, a microwave, and a piano. I thought at least the piano was not filled with a smoothie of food scraps or covered in crusty cheese. Then, I just started to snap photos. I took photos of the entire piano and then eventually the keys. After a couple of minutes I thought I probably had 25, but when I went back to count I only had 12 photos! I was not even half way there and there was nothing else to the piano that I could take photos of. Not long after I started taking photos inside the piano, and thought this is going to be cool! However, l looking back at my best photo from the collection, it was not that good. It was too edgy from Lightroom adjustments, and compared to water splashes, bee heads, and light painting it was just not that intriguing. A week or two later feeling very confident with the exposure settings and composition techniques we had just learned, I went to a photo walk that was headed by Olympus visionary, Frank Smith. He is known for taking photos from many different categories, but what he had to offer, which is what I was amazed at, was his ability to see a good photo based all on the sun and then use composition and techniques to produce an awesome photo of ordinary objects. For this photo walk, he had no particular photo planned, he was walking us through what he saw in the moment (at the Arb, a place he has never been before). The difference between a good photo and a great photo all has to do with the sun. How it is hitting objects, how bright it is, what point in the sky it is at, all uncontrollable things. To some degree nature photography is lucky, on the other hand, it is about recognizing a great photo when there is one. This is what the photographer's eye, cluing in on great photos wherever they walk. Throughout the trimester I have been trying to look at the where the sun is and find great photos in a unique way that changes the way someone looks at the object after they look at my photograph. Below I have the progression of my photographer's eye as I became more experienced.  25 photo challenge best photo 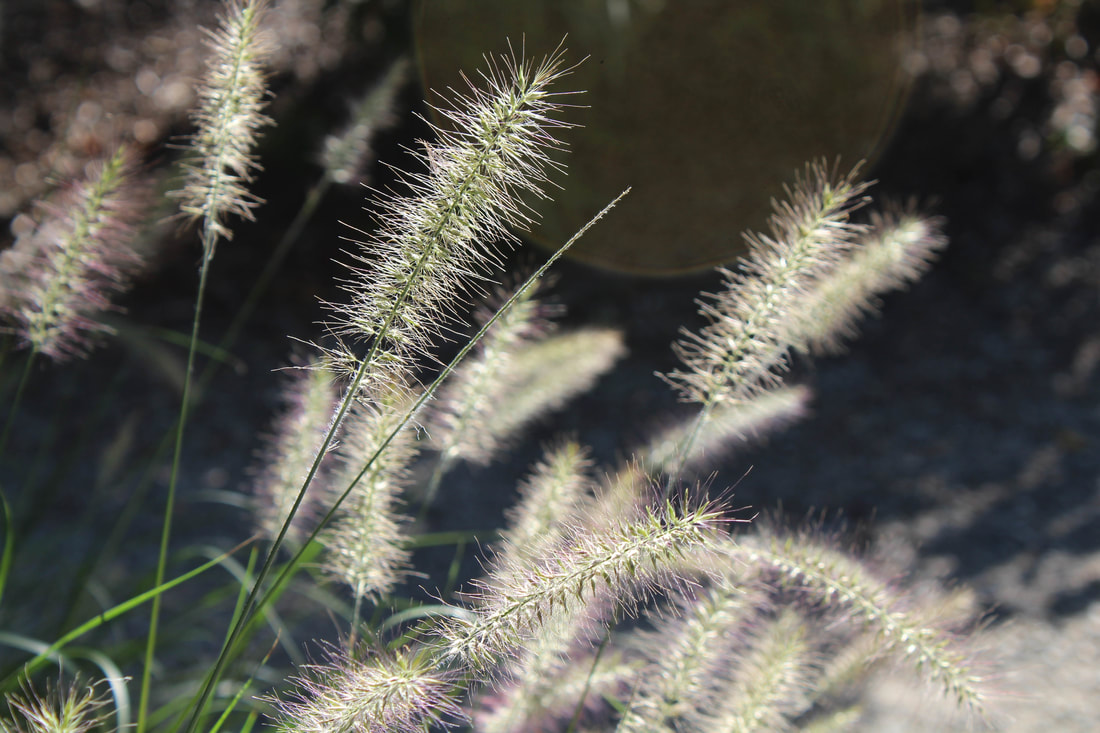 Photo taken on photo walk Below are my panoramas.Another thing I progressed over, was becoming familiar with the manual exposure exposure settings, which include shutter speed, aperture, and ISO. When we first learned shutter speed and aperture, we had to demonstrate our knowledge by taking four pictures of an object in motion at different shutter speeds (with a big difference visible). Similarly for aperture, we took four photos of an object with 'long' background (so the depth of field of the object could be noticed) at different apertures. For starters, shutter speed is the how long the digital image sensor is exposed to the light (or how long the shutter is open). The longer the shutter speed causes more light to come in and, the creative aspect, more motion to be blurred. The quicker the shutter speed causes less light comes in, and more motion to freeze. Then aperture is how much of the lens is opened up to the digital image sensor (once the shutter swings back). The larger the aperture is in size causes more light to come in, and a large depth of field. However, the smaller the aperture is in size causes less light to come in and a shorter depth of field. Finally, ISO is how sensitive the image sensor is to the light. The larger the ISO is the more sensitive it is to light (more light) and the photos will become more grainy. The graininess can be avoided with lower ISO's but not as much light will be let in. At that time it was about learning what the settings are and what they do, but as I progressed as a photographer I not only learned o properly expose my photos, but I also took advantage of the creative components of shutter speed and aperture to create unique photos. In terms of shutter speed, I was able to utilize its advantages in light painting. When I was painting the light lines (or where the light had been), the shutter speed was so slow ~30 seconds that it could capture all the places the light was over the course of 30 seconds. The next week I wanted to try to use the freeze motion aspect of shutter speed with water splashes! Now to freeze the water as it was splashing I would need a lot of light to make up for the fact of the super fast shutter speed (there was not enough aperture and ISO to compensate for this problem). The results of this photo shoot turned out really cool with the freeze motion effect. In my final photo shoot, I used the blurred motion effect to capture car light trails of headlights and taillights of cars. This was the opposite of the water splash settings, which was to take photos of both techniques. Below are the photos from all of the photo shoots I mentioned. The two galleries below are the shutter speed and aperture assignments I mentioned.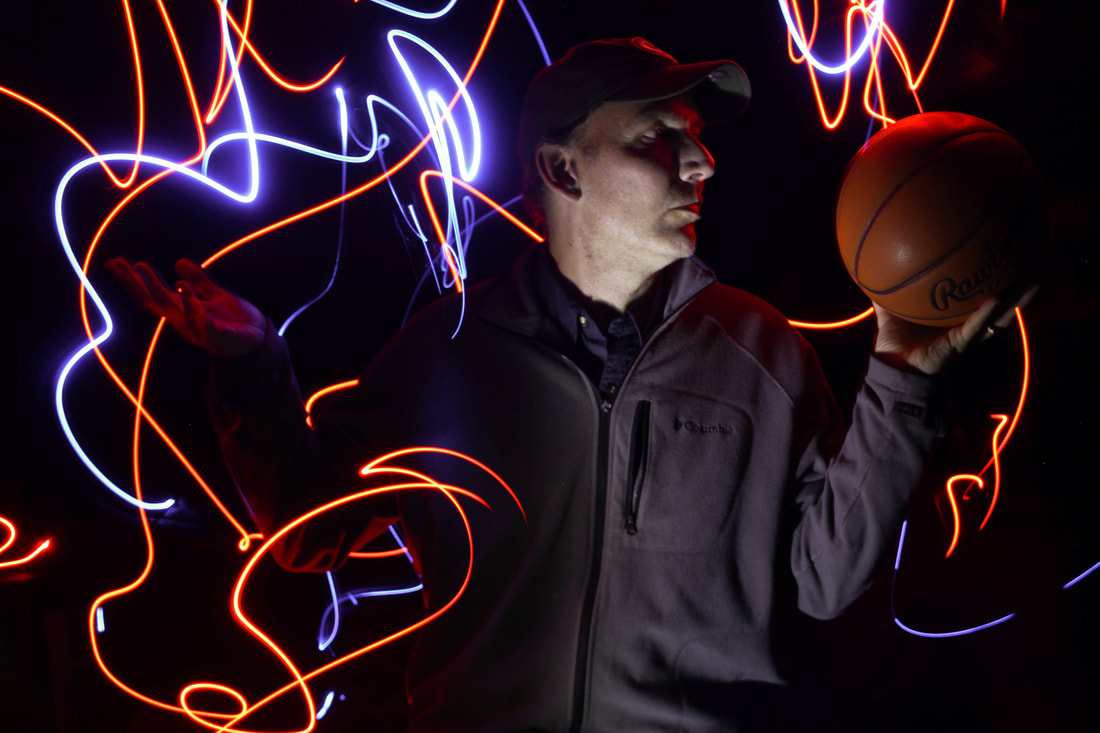 Light Painting 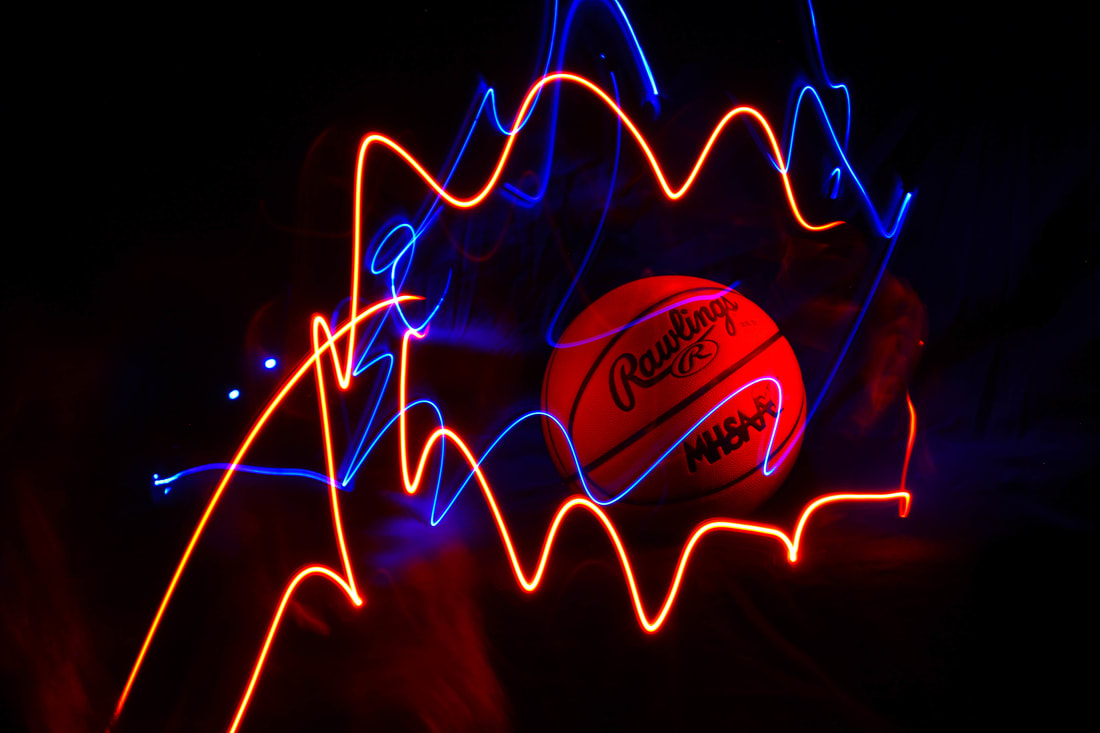 Light Painting Above is my motion photos.Above is my night photography, "car light trails" photos.Below is my best and worst photo. At the beginning of the this class I had a hard time getting pictures in focus let alone playing with manual settings and capturing cool photos. By the end of this class, I was capturing crystal clear shots, using the manual settings in my camera creatively, and capturing inspiring photos. Below are other favorite photos of mine. I did not want to leave them out.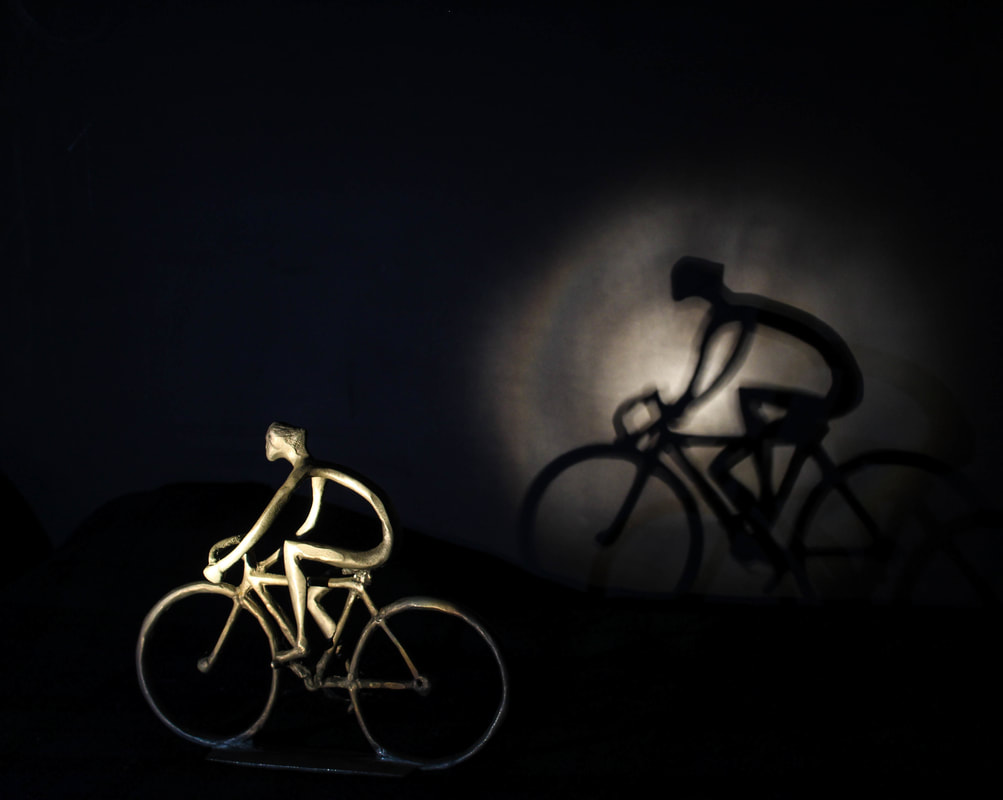 Best photo from Shadows and Light. 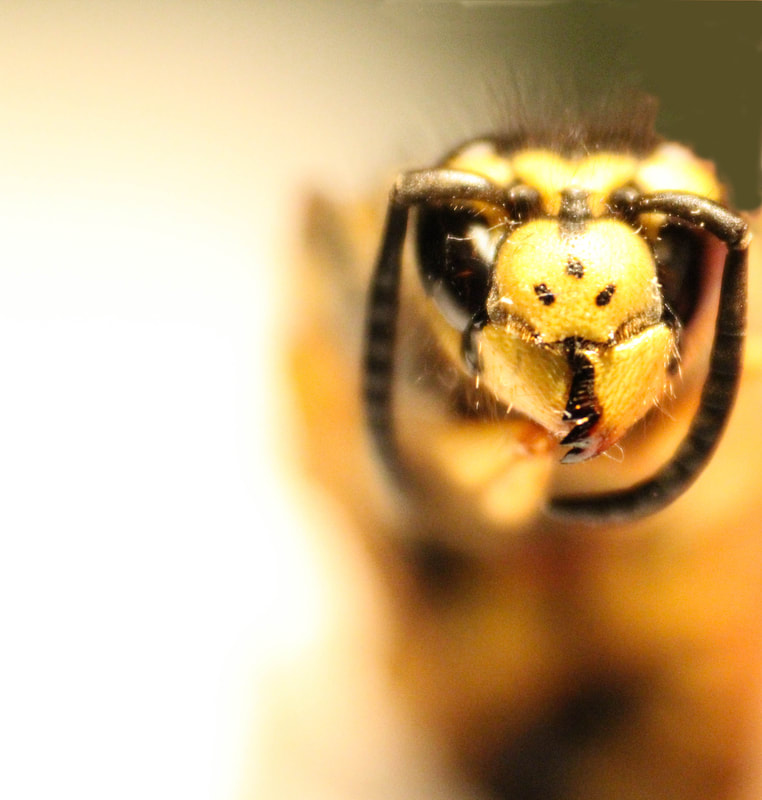 Best photo from Macro.
1 Comment
Nathan Bush
11/29/2018 05:57:32 am
Amazing job Josie. You've come a long way. Leave a Reply. |
AuthorWrite something about yourself. No need to be fancy, just an overview. Archives
November 2018
Categories |
Darin Smalls
 RSS Feed
