|
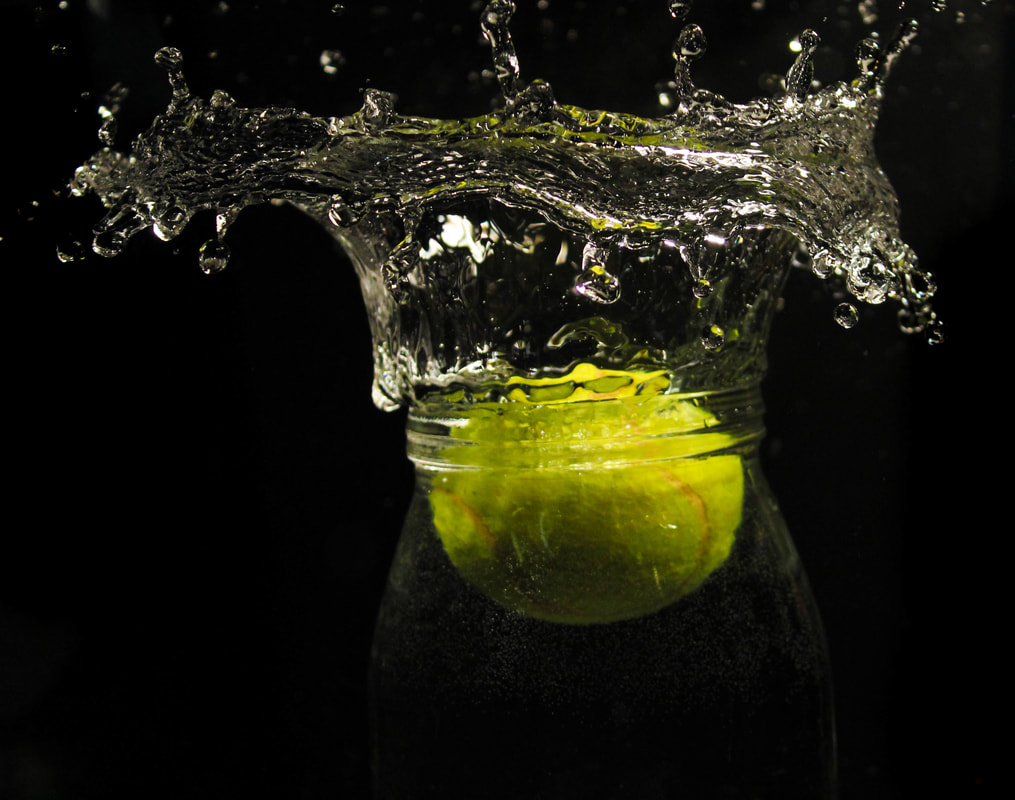
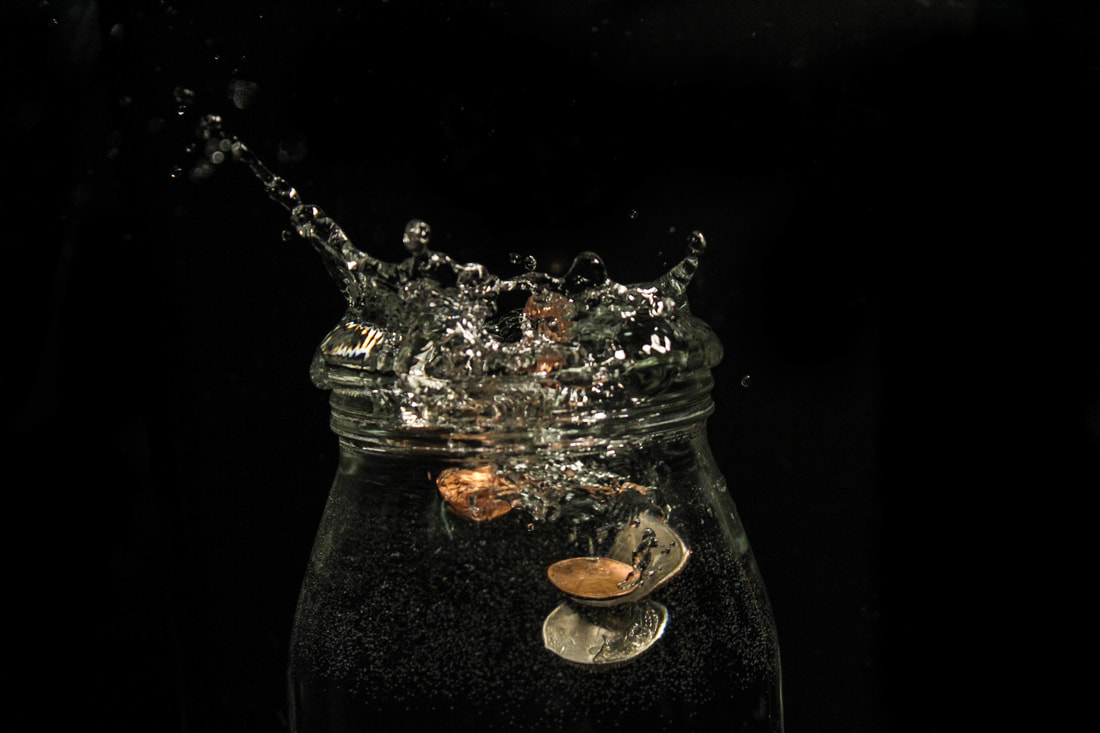
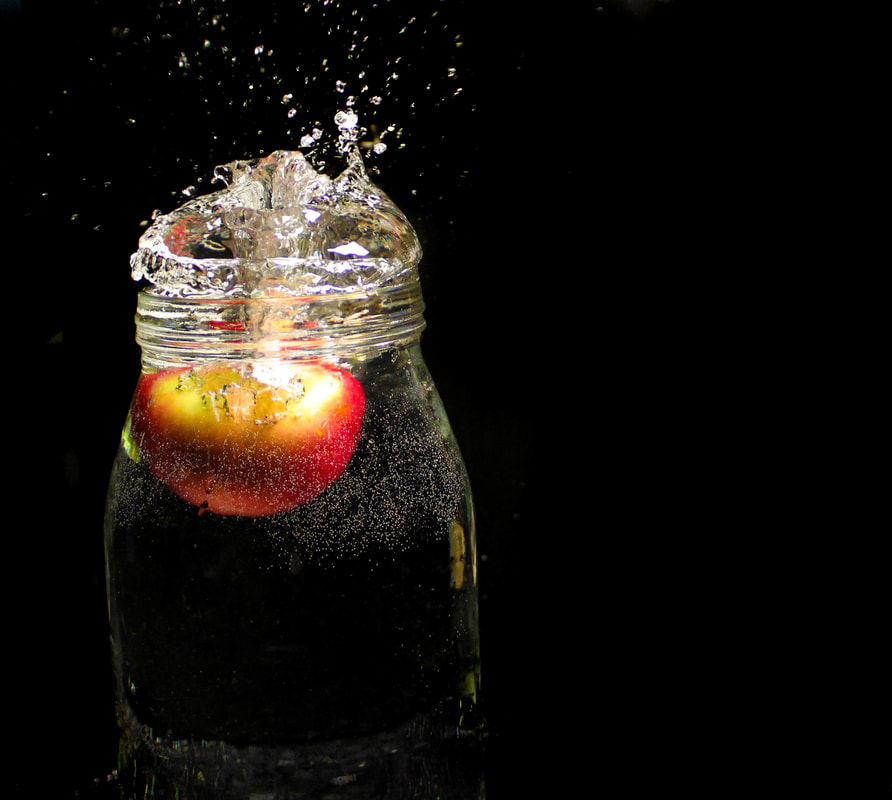
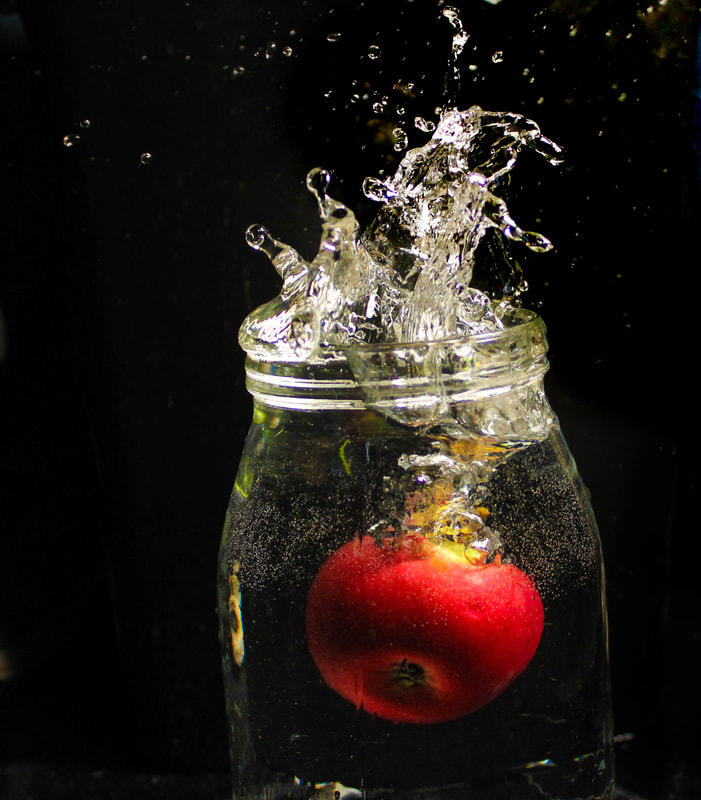
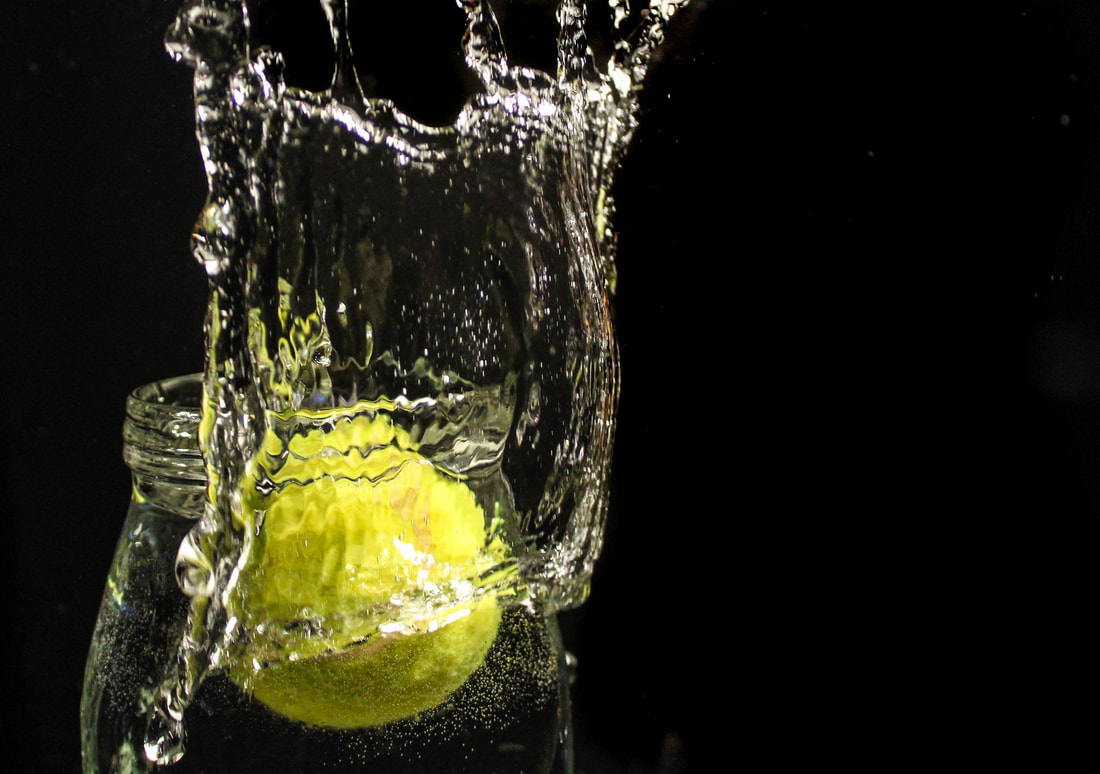
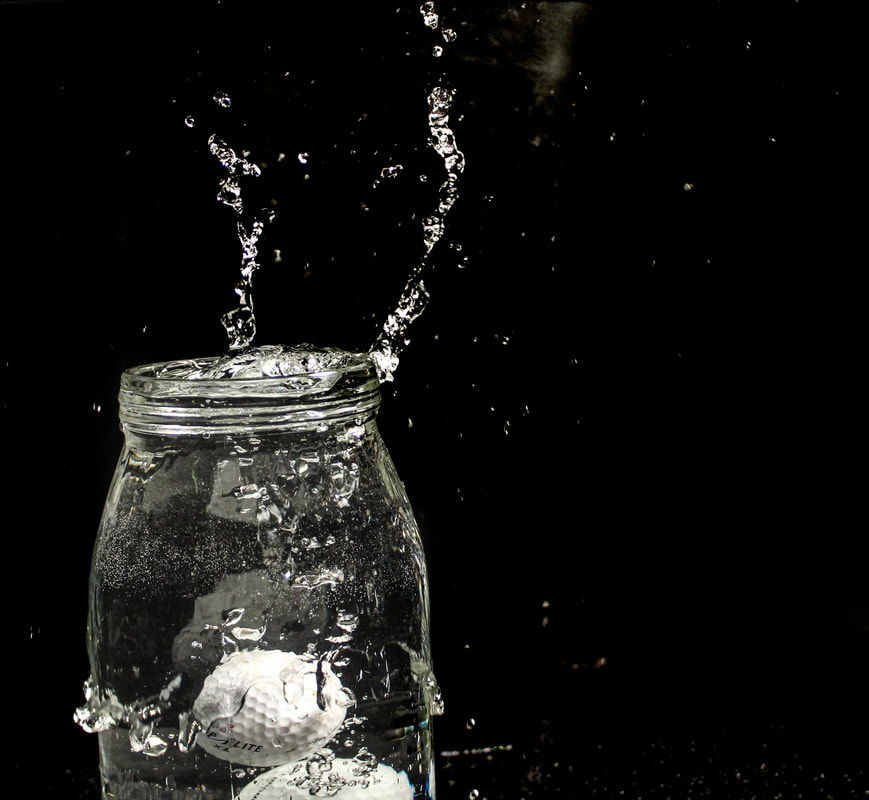
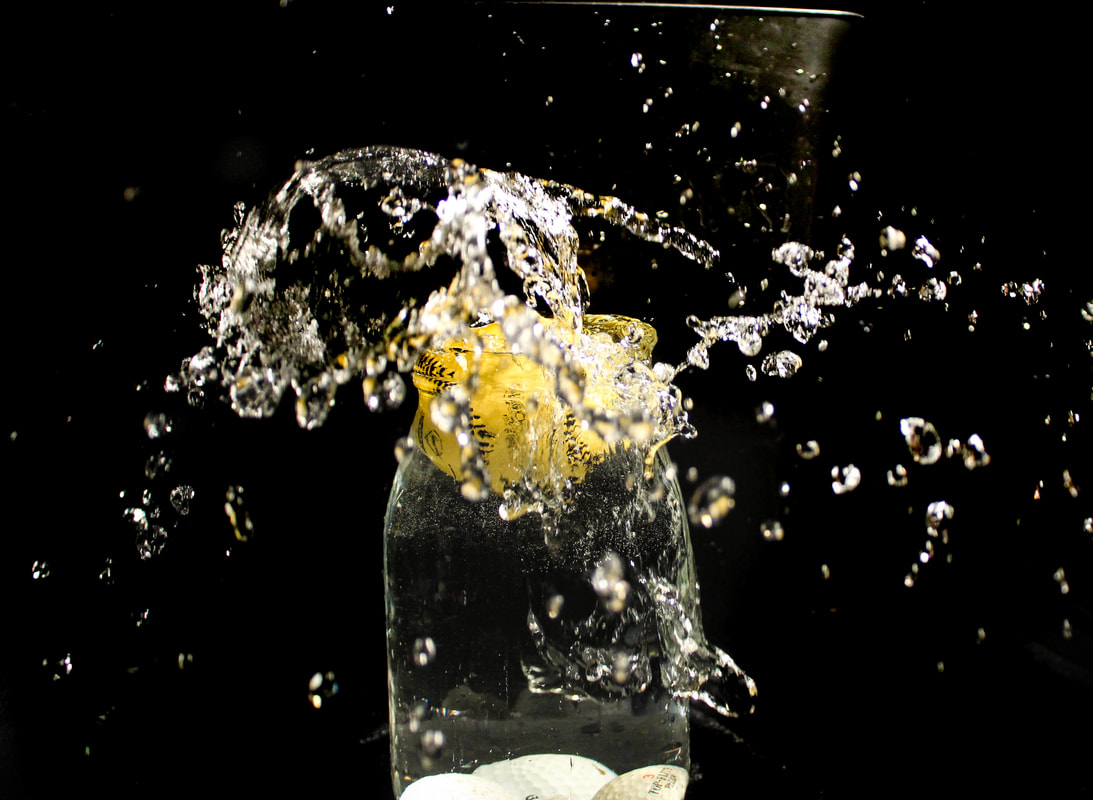
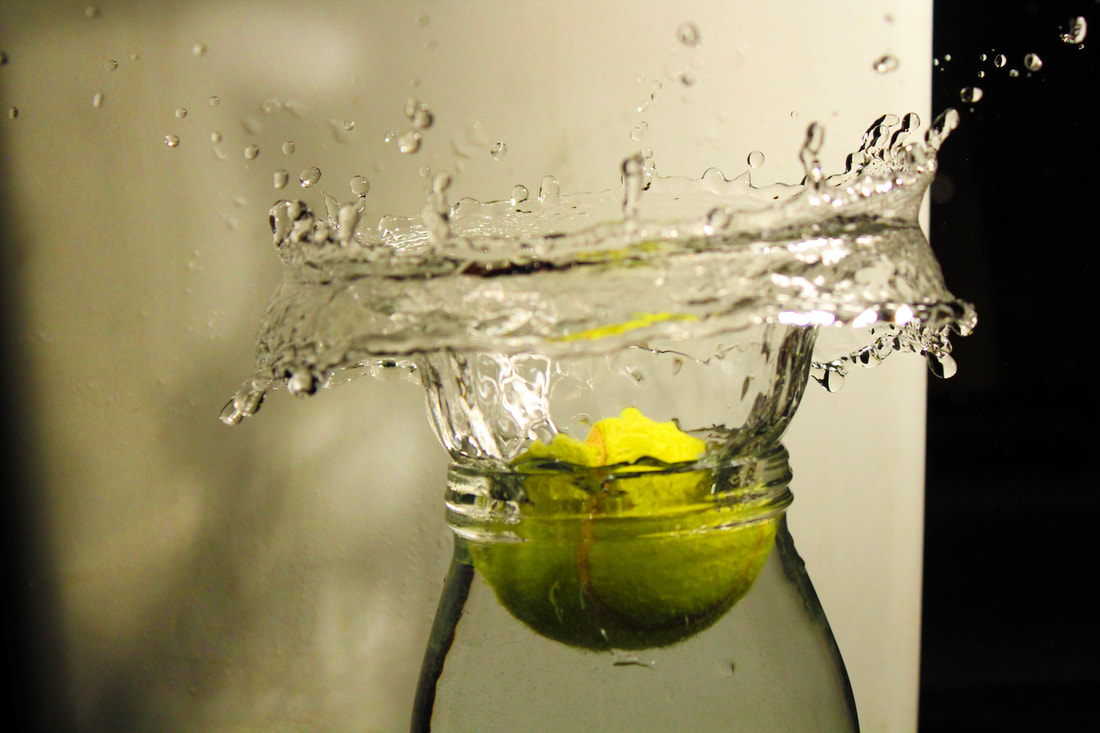
This weekend, I took pictures of objects in motion. When I was doing some pre-shoot research I saw really cool photos of objects splashing water, and in the photo, the splash was frozen! I thought that was really cool, so I thought that I would try it. I knew in terms of set up for the photo shoot I would need a lot of light in order to have a slow enough shutter speed to freeze the splashes and still not have the ISO too high where it would get too grainy. To do this I found 3 heavy-duty halogen work lights laying around my house and set them up around a large Mason jar filled with water. Each light was 500 watts each! Something else that I took into consideration was, once the water splashed it would have to go somewhere, which by gravity is down to the ground. To avoid ruining anything in this shoot, I set up on my basement concrete floor, and put a tarp underneath the jar. Then was the moment of truth, would the amount of light be enough to freeze the motion of the water? Click, the splash was frozen, the photo was properly exposed and it was one of the coolest things I had ever seen on the back of my camera screen! As I continued to shoot, I found that a black background brought your focus to the subject better. I also learned during the editing process, that sometimes all you want a person to see is the splash, the jar, and the object that made the splash (nothing else). Originally in my photos, I had my dad's leg, the tarp, and all the background stuff that was in my basement, but I learned you can use the brush tool to edit a specific area. With this brush tool, I selected the background to lower the exposure and make the blacks more black. I also learned another tool in Lightroom called the healing brush, which with it you can get rid of any unwanted spots. I used it to get rid of the distracting dots and specs that took away from the splash. 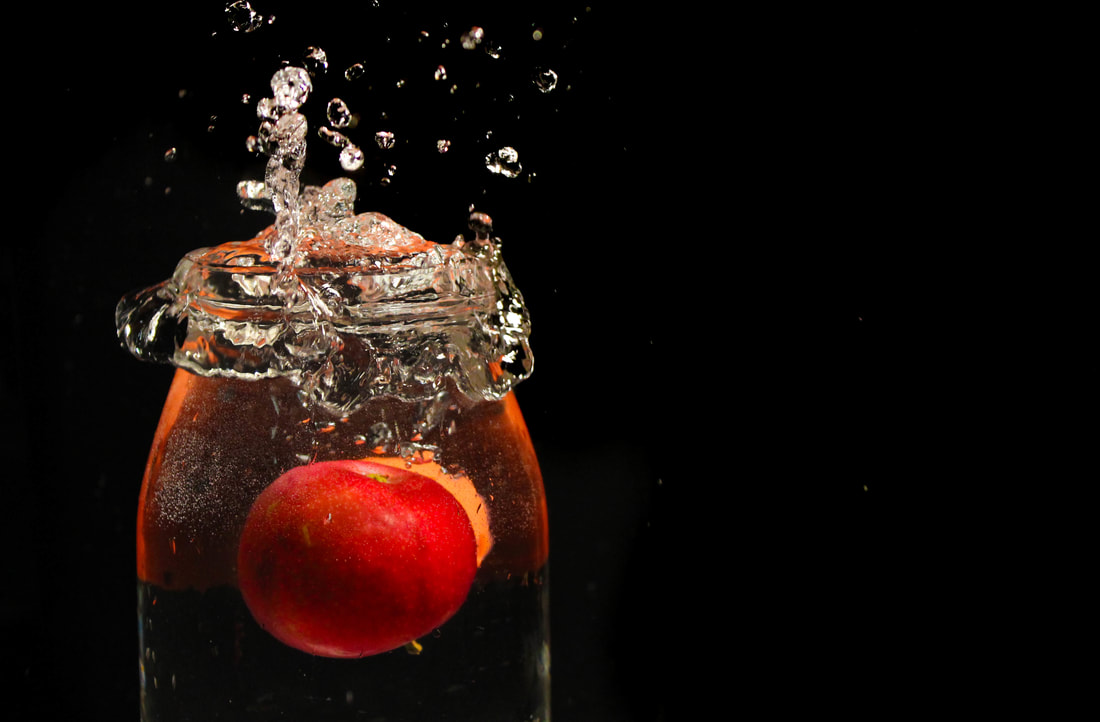 Shutter speed: 1/1000 of a second Aperture: f/stop 5.0 ISO: 1600 In the photo above, I did a couple of things in Lightroom to enhance the photo. First, I cropped the photo so there was still some space off in the right third and the subjects were on the left third (the apple on the bottom left and the splash on the top left). Next, I brought up the vibrance to enhance the colors of the apple and the reflection of the wiffle ball. In addition, as I mentioned above, I used the healing brush to take out distracting spots. Finally, I used the selection brush to lower the exposure and make the blacks more black in the background.
0 Comments
Leave a Reply. |
AuthorWrite something about yourself. No need to be fancy, just an overview. Archives
November 2018
Categories |
Darin Smalls

 RSS Feed
